Elastic CI Stack for AWS overview
The Buildkite Elastic CI Stack for AWS gives you a private, autoscaling Buildkite agent cluster. You can use the Buildkite Elastic CI Stack for AWS to parallelize large test suites across hundreds of nodes, run tests, app deployments, or AWS ops tasks. Each Buildkite Elastic CI Stack for AWS deployment contains an Auto Scaling group and a launch template.
Architecture
For an overview of the architecture of the Elastic CI Stack for AWS, see Architecture.
Features
The Buildkite Elastic CI Stack for AWS supports:
- All AWS regions (except China and US GovCloud)
- Linux and Windows operating systems
- Configurable instance size
- Configurable number of Buildkite agents per instance
- Configurable spot instance bid price
- Configurable auto-scaling based on build activity
- Docker and Docker Compose
- Per-pipeline S3 secret storage (with SSE encryption support)
- Docker registry push/pull
- CloudWatch Logs for system and Buildkite agent events
- CloudWatch metrics from the Buildkite API
- Support for stable, beta or edge Buildkite agent releases
- Multiple stacks in the same AWS Account
- Rolling updates to stack instances to reduce interruption
Most features are supported across both Linux and Windows. The following table provides details of which features are supported by these operating systems:
| Feature | Linux | Windows |
|---|---|---|
| Docker | ✅ | ✅ |
| Docker Compose | ✅ | ✅ |
| AWS CLI | ✅ | ✅ |
| S3 Secrets Bucket | ✅ | ✅ |
| ECR Login | ✅ | ✅ |
| Docker Login | ✅ | ✅ |
| CloudWatch Logs Agent | ✅ | ✅ |
| Per-Instance Bootstrap Script | ✅ | ✅ |
| 🧑🔬 git-mirrors experiment | ✅ | ✅ |
| SSM Access | ✅ | ✅ |
| Instance Storage (NVMe) | ✅ | |
| SSH Access | ✅ | |
Periodic authorized_keys Refresh |
✅ | |
| Periodic Instance Health Check | ✅ | |
| Git LFS | ✅ | |
| Additional sudo Permissions | ✅ | |
| RDP Access | ✅ | |
| Pipeline Signing | ✅ | ✅ |
Required and recommended skills
The Elastic CI Stack for AWS does not require familiarity with the underlying AWS services to deploy it. However, to run builds, some familiarity with the following services is required:
- AWS CloudFormation if using the AWS CloudFormation deployment method
- Terraform if using the Terraform deployment method
-
Amazon EC2 (to select an EC2
InstanceTypesstack parameter appropriate for your workload) - Amazon S3 (to copy your git clone secret for cloning and building private repositories)
Elastic CI Stack for AWS provides defaults and pre-configurations suited for most use cases without the need for additional customization. Still, you'll benefit from familiarity with VPCs, availability zones, subnets, and security groups for custom instance networking.
For post-deployment diagnostic purposes, deeper familiarity with EC2 is recommended to be able to access the instances launched to execute Buildkite Pipelines jobs over SSH or AWS Systems Manager Sessions.
Billable services
Elastic CI Stack for AWS creates its own VPC (virtual private cloud) by default. Best practice is to set up a separate development AWS account and use role switching and consolidated billing. You can check out this external tutorial for more information on how to "Delegate Access Across AWS Accounts".
The Elastic CI Stack for AWS deploys several billable Amazon services that do not require upfront payment and operate on a pay-as-you-go principle, with the bill proportional to usage.
| Service name | Purpose | Required |
|---|---|---|
|
EC2 |
Deployment of instances |
☑️ |
|
EBS |
Root disk storage of EC2 instances |
☑️ |
|
Lambda |
Scaling of Auto Scaling group and modifying Auto Scaling group's properties |
☑️ |
|
Systems Manager Parameter Store |
Storing the Buildkite agent token |
☑️ |
|
CloudWatch Logs |
Logs for instances and Lambda scaler |
☑️ |
|
CloudWatch Metrics |
Metrics recorded by Lambda scaler |
☑️ |
|
S3 |
Charging based on storage and transfers in/and out of the secrets bucket (on by default) |
❌ |
Buildkite services are billed according to your plan.
Supported builds
This stack is designed to run your builds in a shared-nothing pattern similar to the Twelve-Factor App methodology:
- Each project should encapsulate its dependencies through Docker and Docker Compose.
- Build pipeline steps should assume no state on the machine (and instead rely on build meta-data, build artifacts, or S3).
- Secrets are configured using environment variables exposed using the S3 secrets bucket.
By following these conventions, you get a scalable, repeatable, and source-controlled CI environment that any team within your organization can use.
Running your first build
You can use a bash-parallel-example sample pipeline to test with your new autoscaling stack. Click the Add to Buildkite button below (or on the GitHub README):
![]()
Click Create Pipeline. Depending on your organization's settings, the next step will vary slightly:
- If your organization uses the web-based steps editor (default), your pipeline is now ready for its first build. You can skip to the next step.
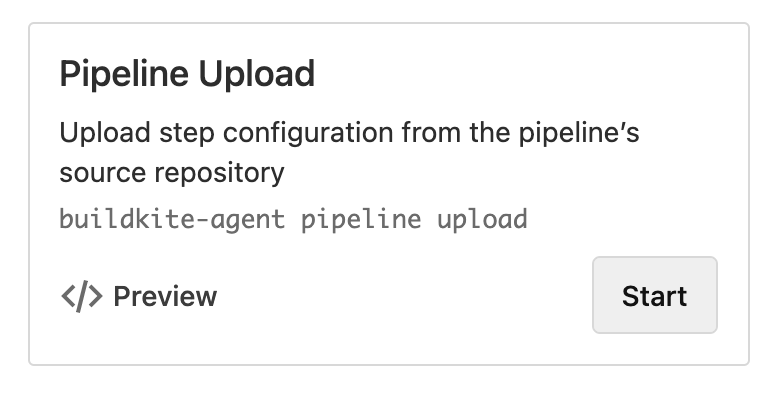
- If your organization has been upgraded to the YAML steps editor, you should see a Choose a Starting Point wizard. Select Pipeline Upload from the list:
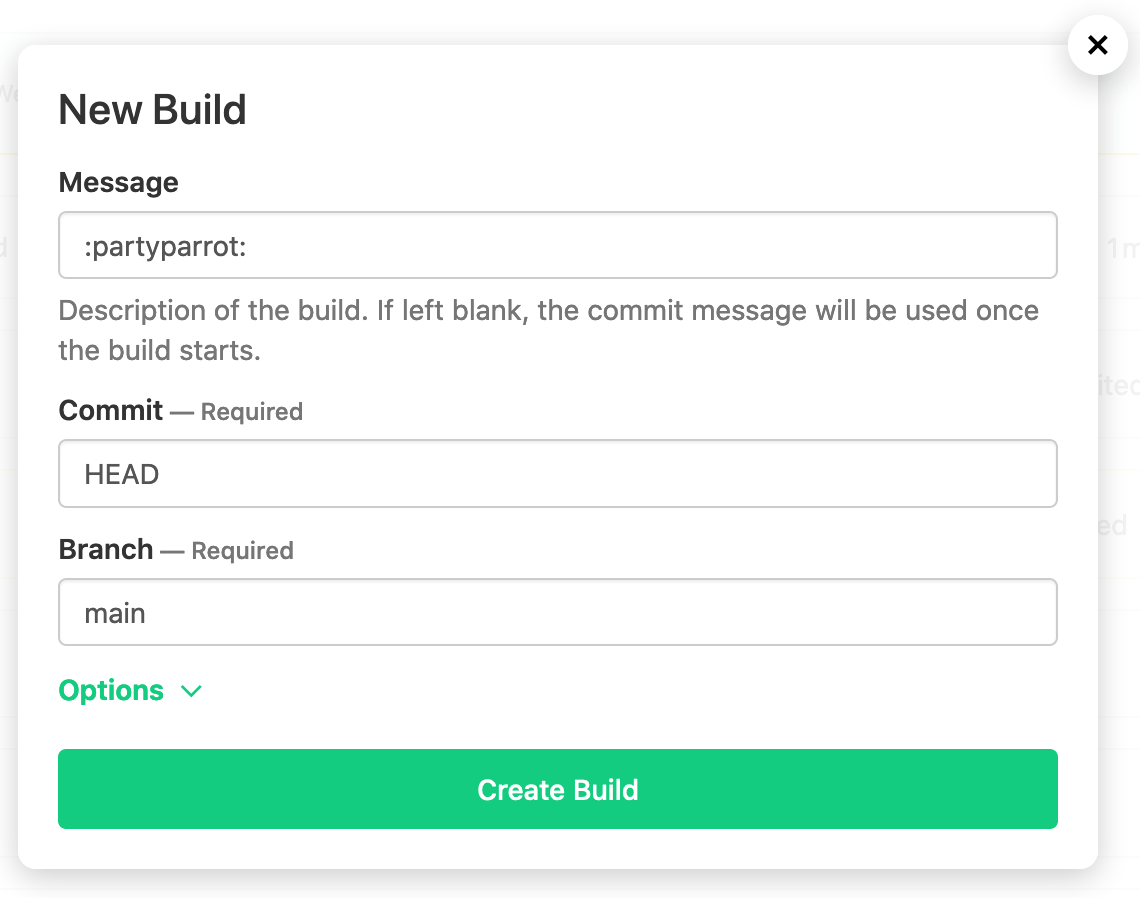
Click New Build in the top right and choose a build message (perhaps a little party :partyparrot:?):
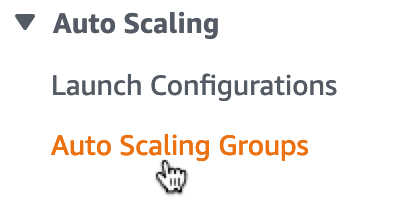
Once your build is created, head back to the AWS EC2 Auto Scaling Groups to watch the Elastic CI Stack for AWS creating new EC2 instances:
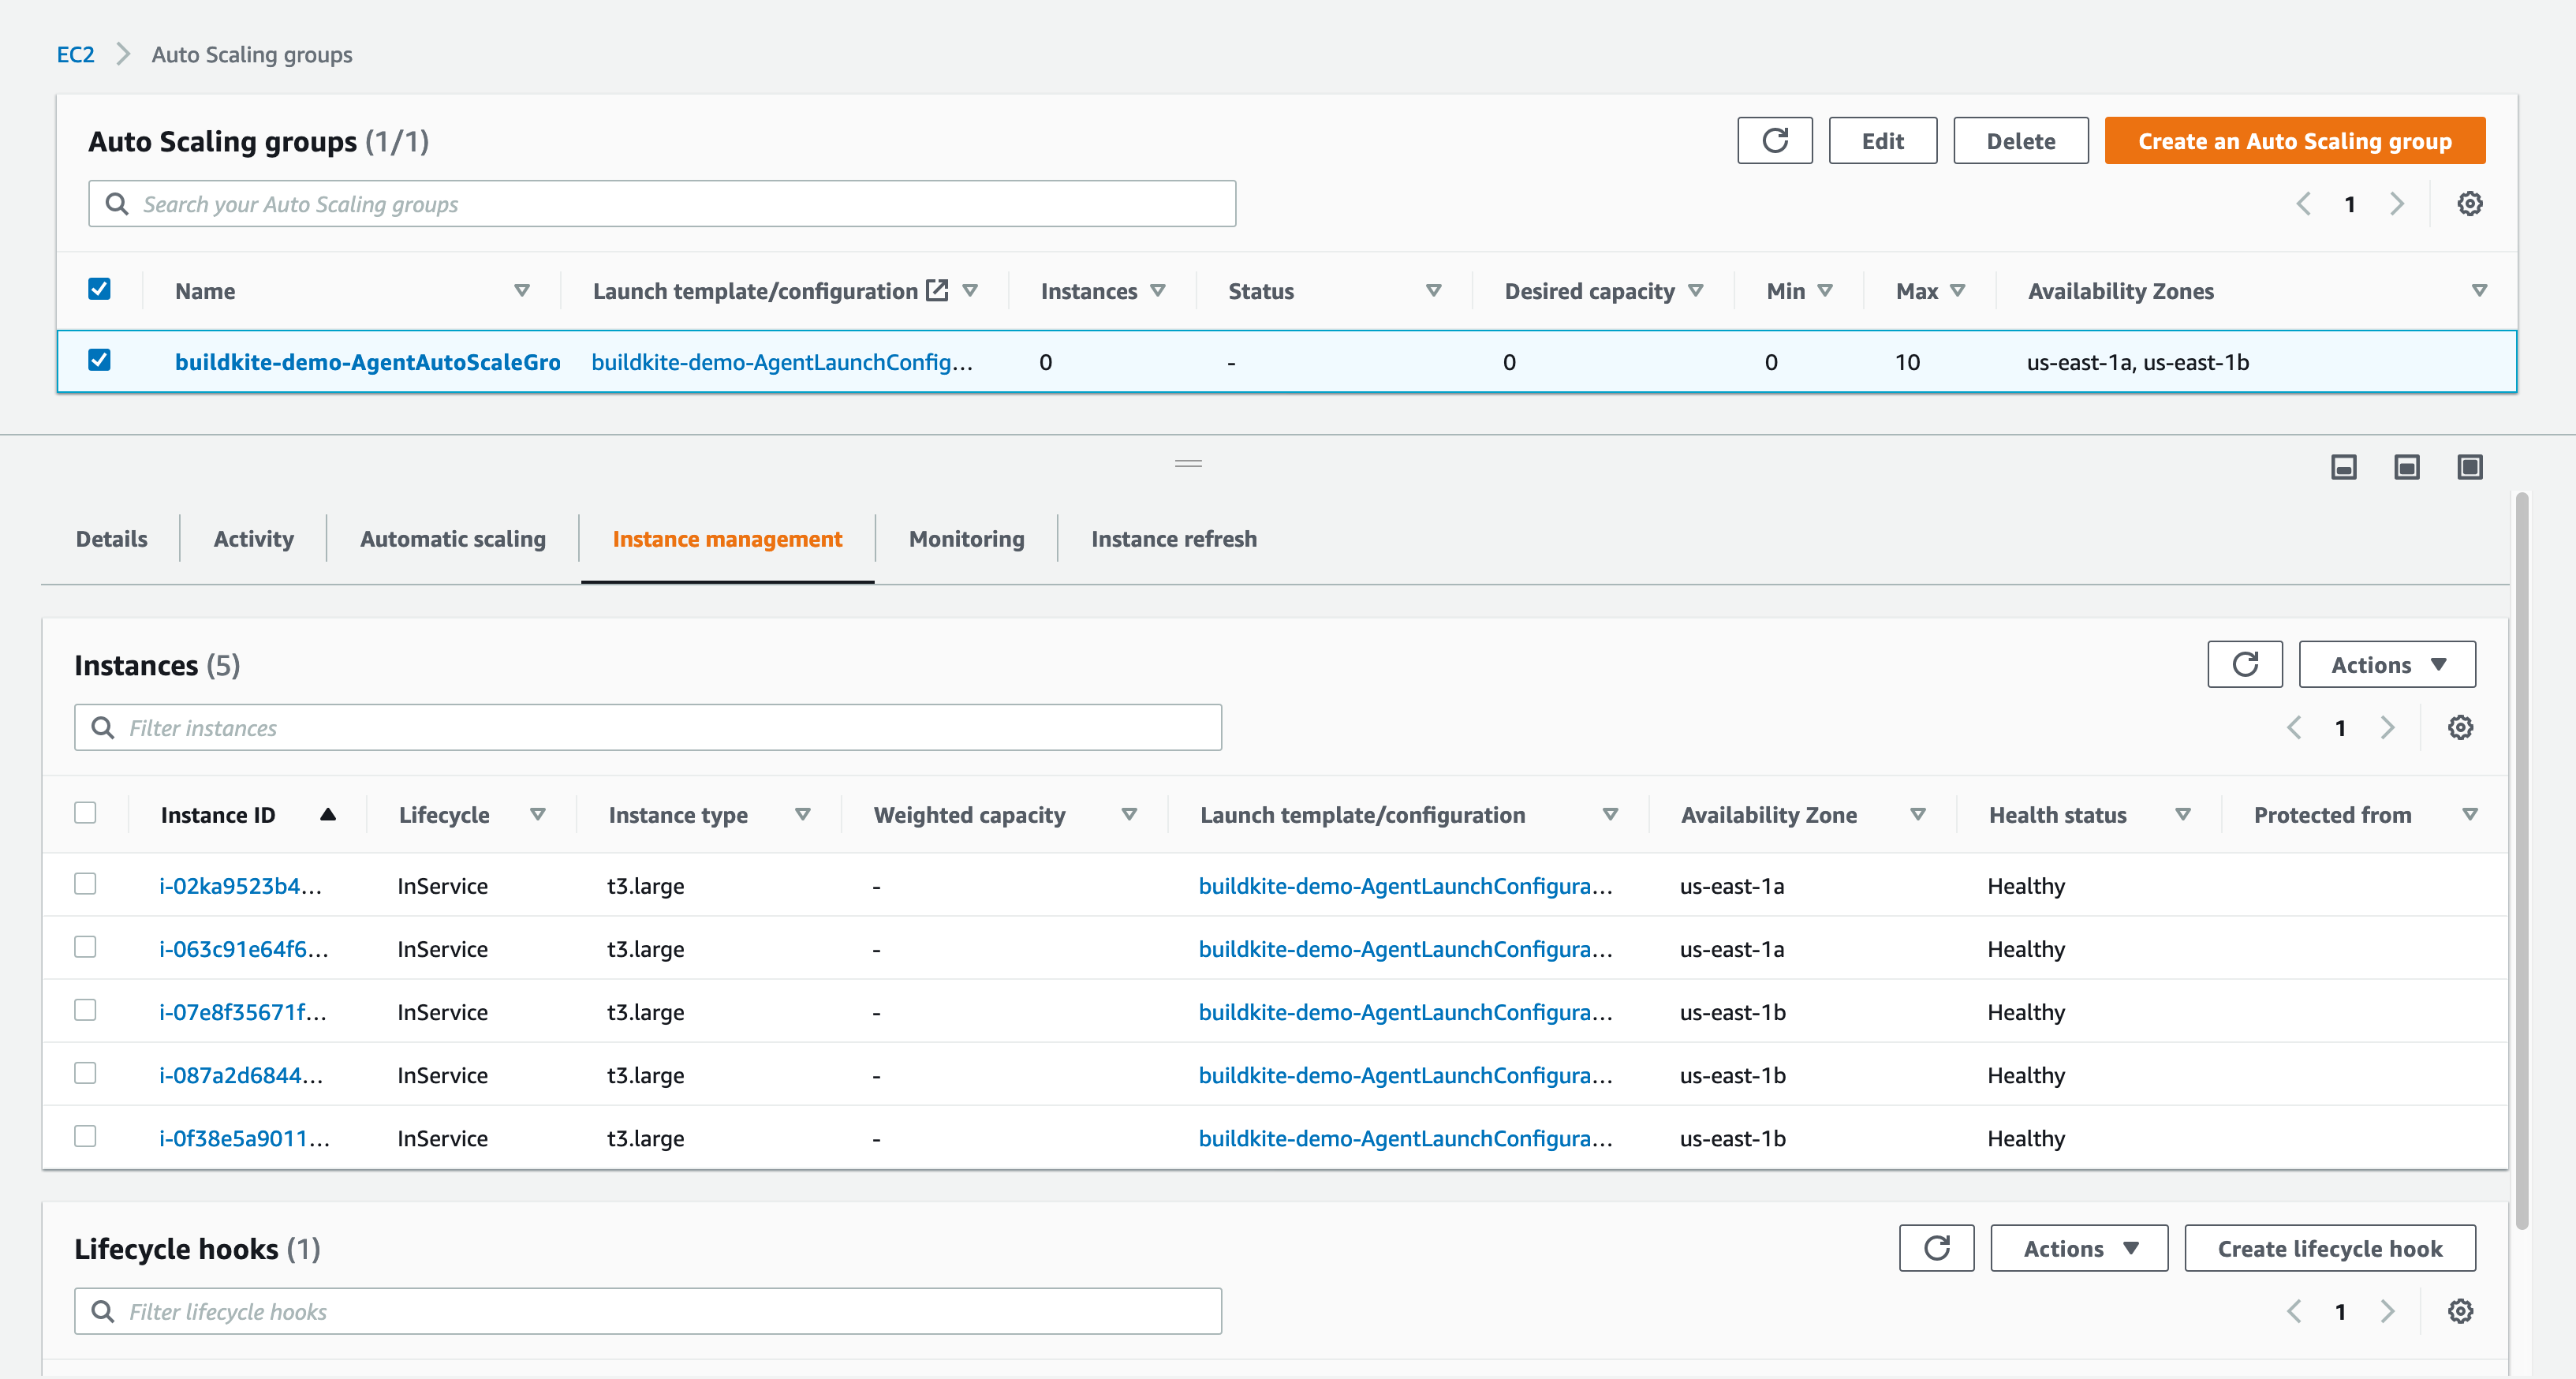
Select the buildkite-AgentAutoScaleGroup-xxxxxxxxxxxx group and then the Instances tab. You'll see instances starting up to run your new build and after a few minutes they'll transition from Pending to InService:
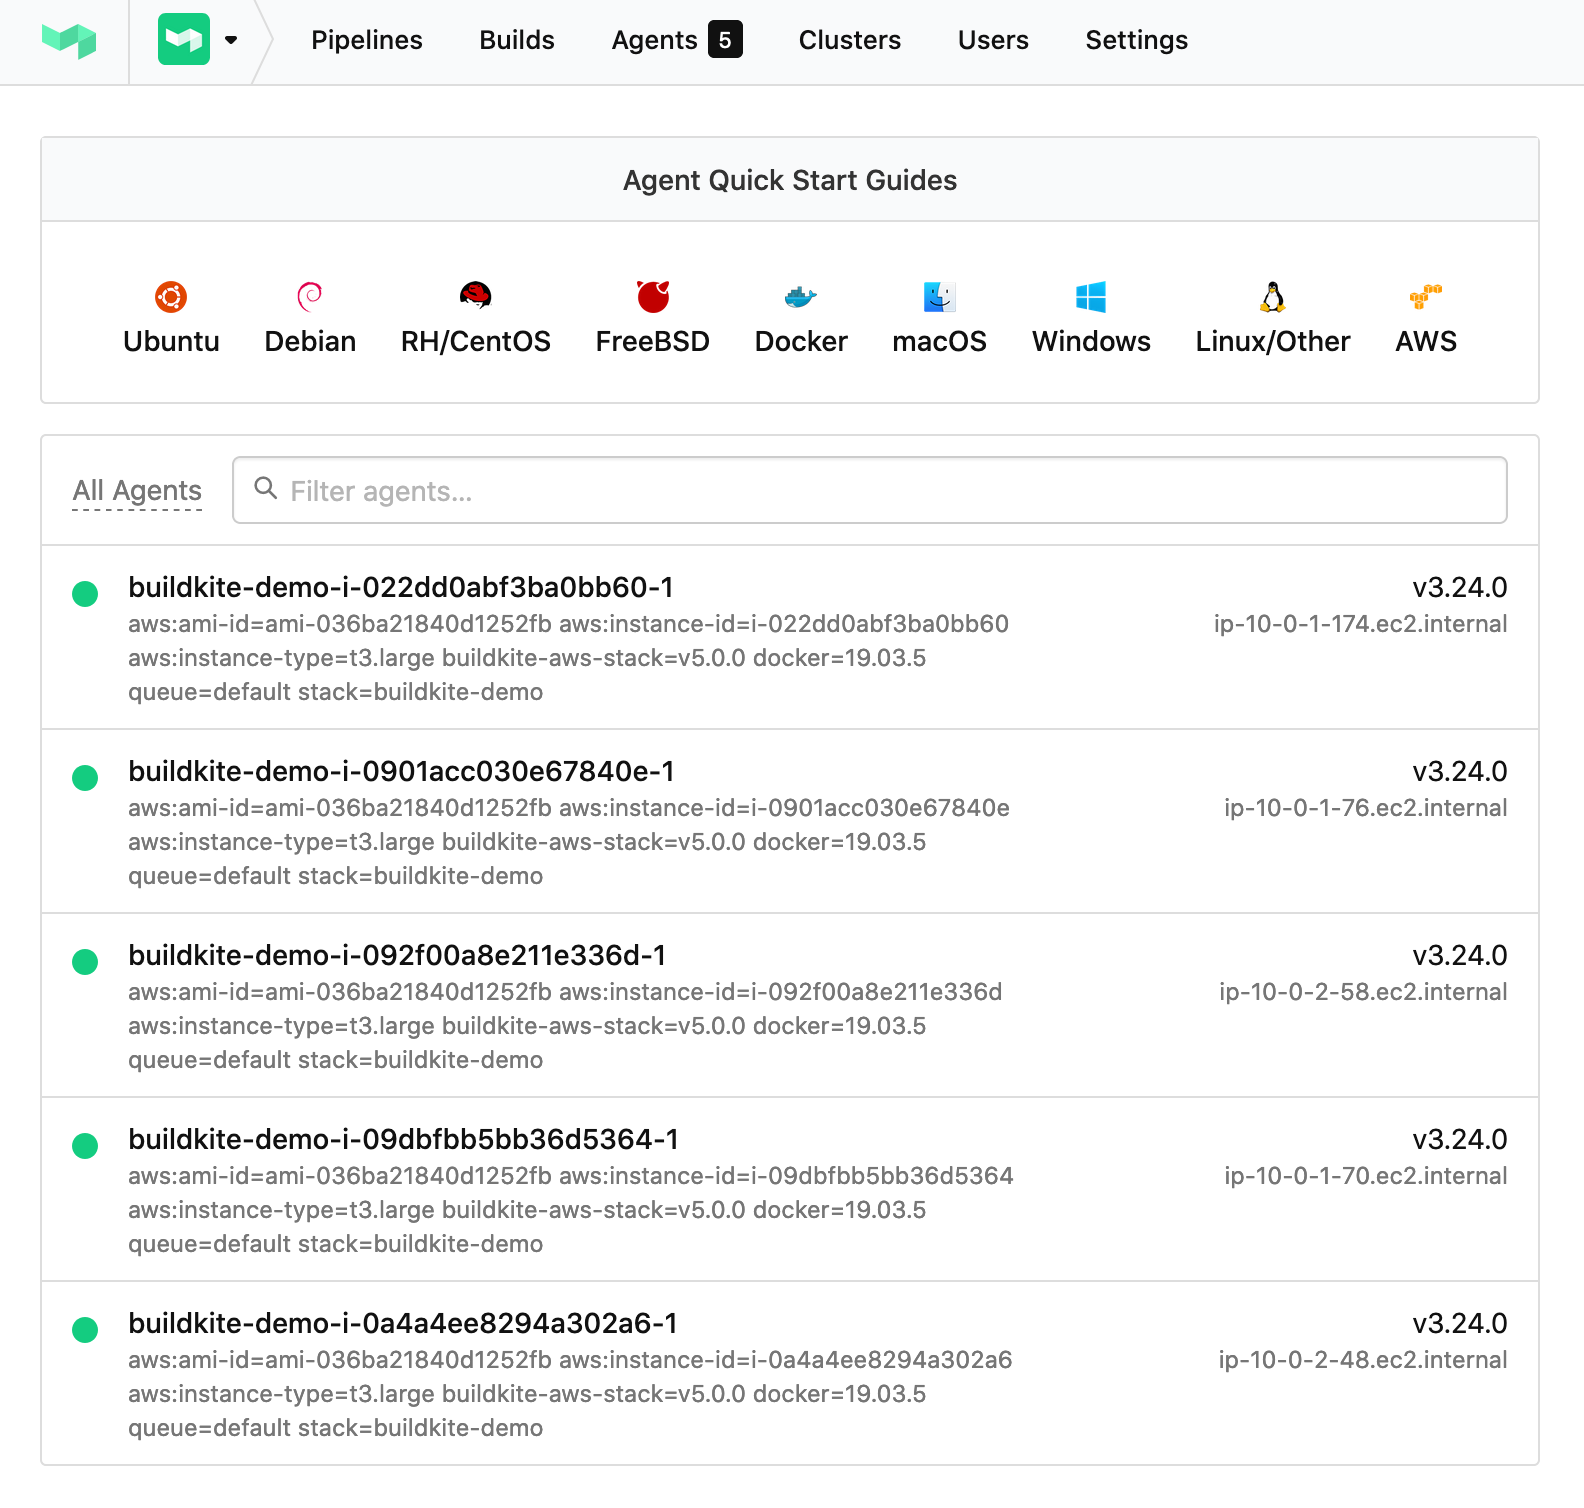
Once the instances are ready, they will appear on your Buildkite agents page:
And then your build will start running on your new agents:

Congratulations on running your first Elastic CI Stack for AWS build on Buildkite! 🎉
Get started with the Elastic CI Stack for AWS
Get started with Buildkite Elastic CI Stack for AWS for:
- Linux and Windows
- Mac