Linux and Windows setup for the Elastic CI Stack for AWS with AWS CloudFormation
This guide leads you through getting started with the Elastic CI Stack for AWS for Linux and Windows using AWS CloudFormation.
This guide uses AWS CloudFormation. For the Terraform setup instructions, see the Terraform setup guide.
The Elastic CI Stack for AWS lets you launch a private, autoscaling Buildkite agent cluster in your own AWS account.
Read on for detailed instructions, or jump straight in:

Before you start
Most Elastic CI Stack for AWS features are supported on both Linux and Windows. The following Amazon Machine Images (AMIs) are available by default in all supported regions. The operating system and architecture will be selected based on the values provided for the InstanceOperatingSystem and InstanceTypes parameters:
- Amazon Linux 2023 (64-bit x86)
- Amazon Linux 2023 (64-bit ARM, Graviton)
- Windows Server 2022 (64-bit x86)
If you want to use the AWS CLI instead, download config.json.example, rename it to config.json, add your Buildkite agent token (and any other config values), and then run the below command:
aws cloudformation create-stack \
  --output text \
  --stack-name buildkite \
  --template-url "https://s3.amazonaws.com/buildkite-aws-stack/latest/aws-stack.yml" \
  --capabilities CAPABILITY_IAM CAPABILITY_NAMED_IAM CAPABILITY_AUTO_EXPAND \
  --parameters "$(cat config.json)"
Launching the stack
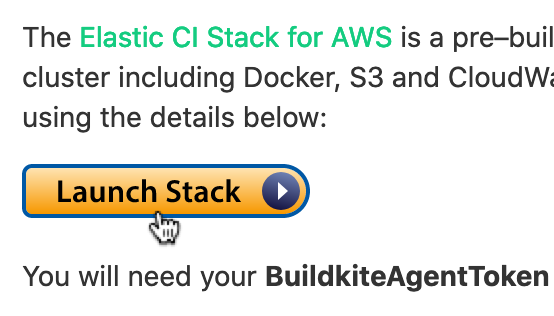
Go to the Agents page on Buildkite and select the AWS tab:

Select Launch Stack 
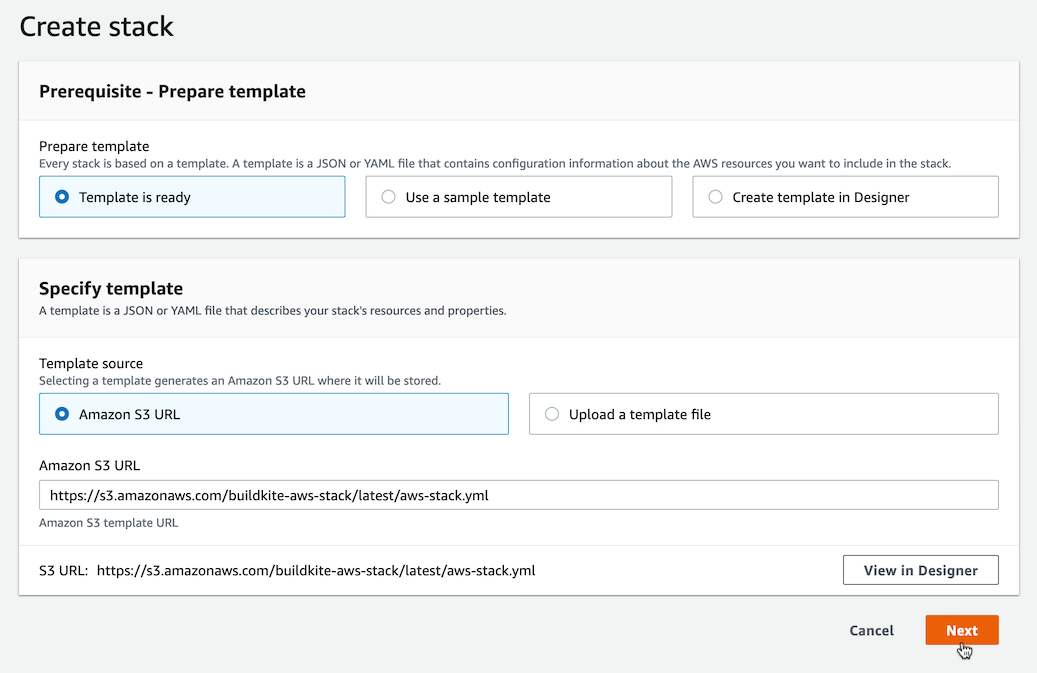
After selecting Next, configure the stack using your Buildkite agent token:
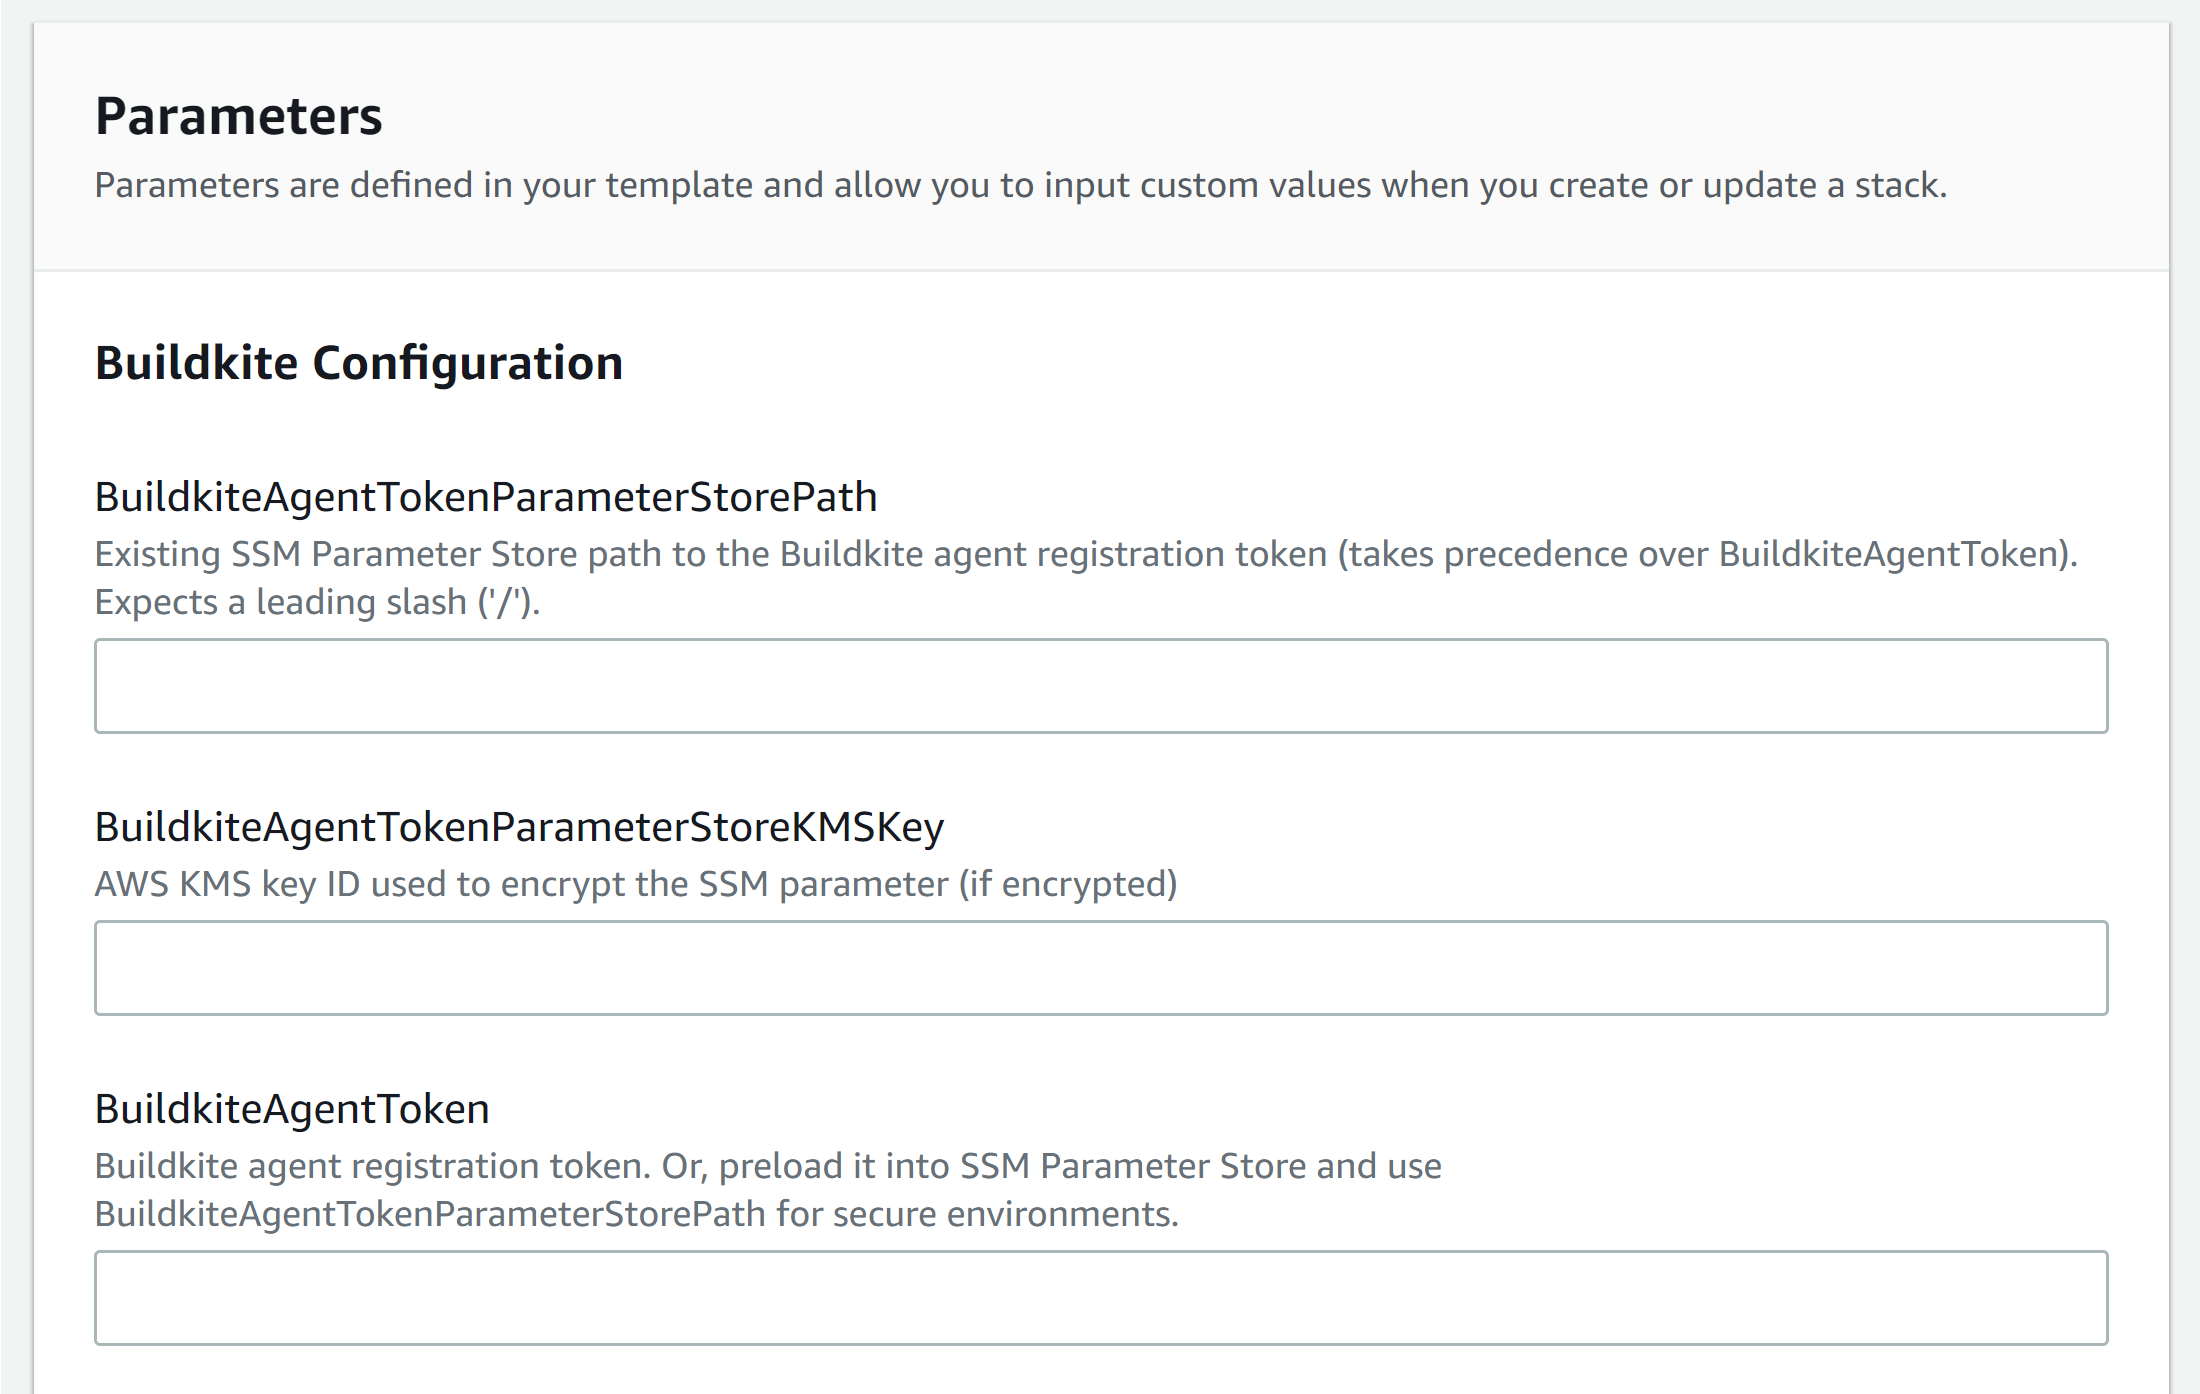
Copy the value for the agent token you'd previously configured for your Buildkite cluster and paste it into the required field on this page.
If you don't have your agent token's value, you'll need to create a new one, which you can do from the Agents > Clusters > your specific cluster page. Once created, don't forget to copy the agent token's value and save it somewhere secure, as you won't be able to see its value from Buildkite again.
By default the stack uses a job queue of default, but you can specify any other queue name you like.
A common example of setting a queue for a dedicated Windows agent can be achieved with the following in your pipeline.yml after you've set up your Windows stack:
steps:
  - command: echo "hello from windows"
    agents:
      queue: "windows"
For more information, see the Queues overview page, specifically Targeting a queue from a pipeline.
Review the parameters, see Elastic CI Stack for AWS parameters for more details.
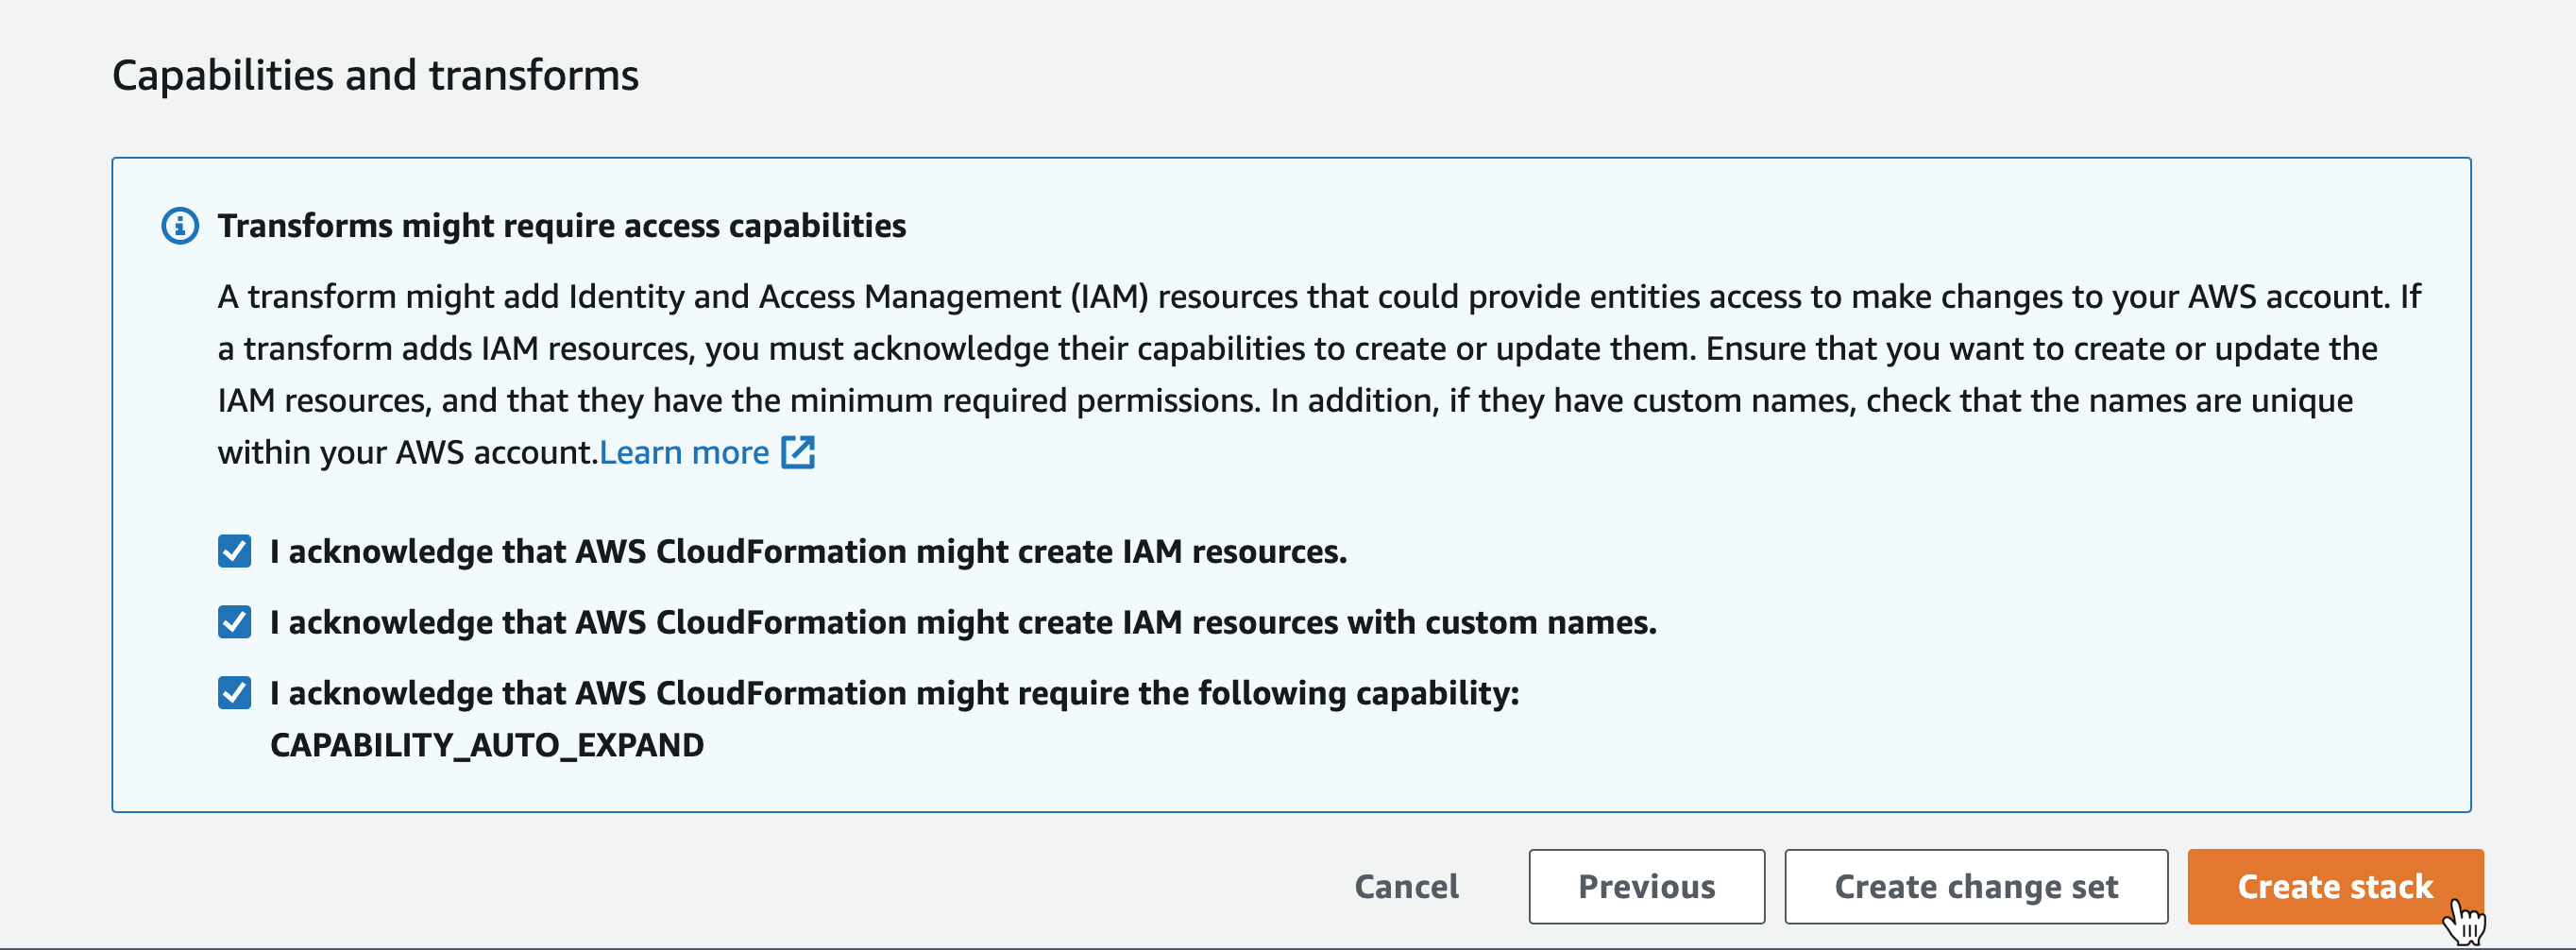
Once you're ready, check these three checkboxes:
- I acknowledge that AWS CloudFormation might create IAM resources.
- I acknowledge that AWS CloudFormation might create IAM resources with custom names.
- I acknowledge that AWS CloudFormation might require the following capability:
CAPABILITY_AUTO_EXPAND
Then select Create stack:
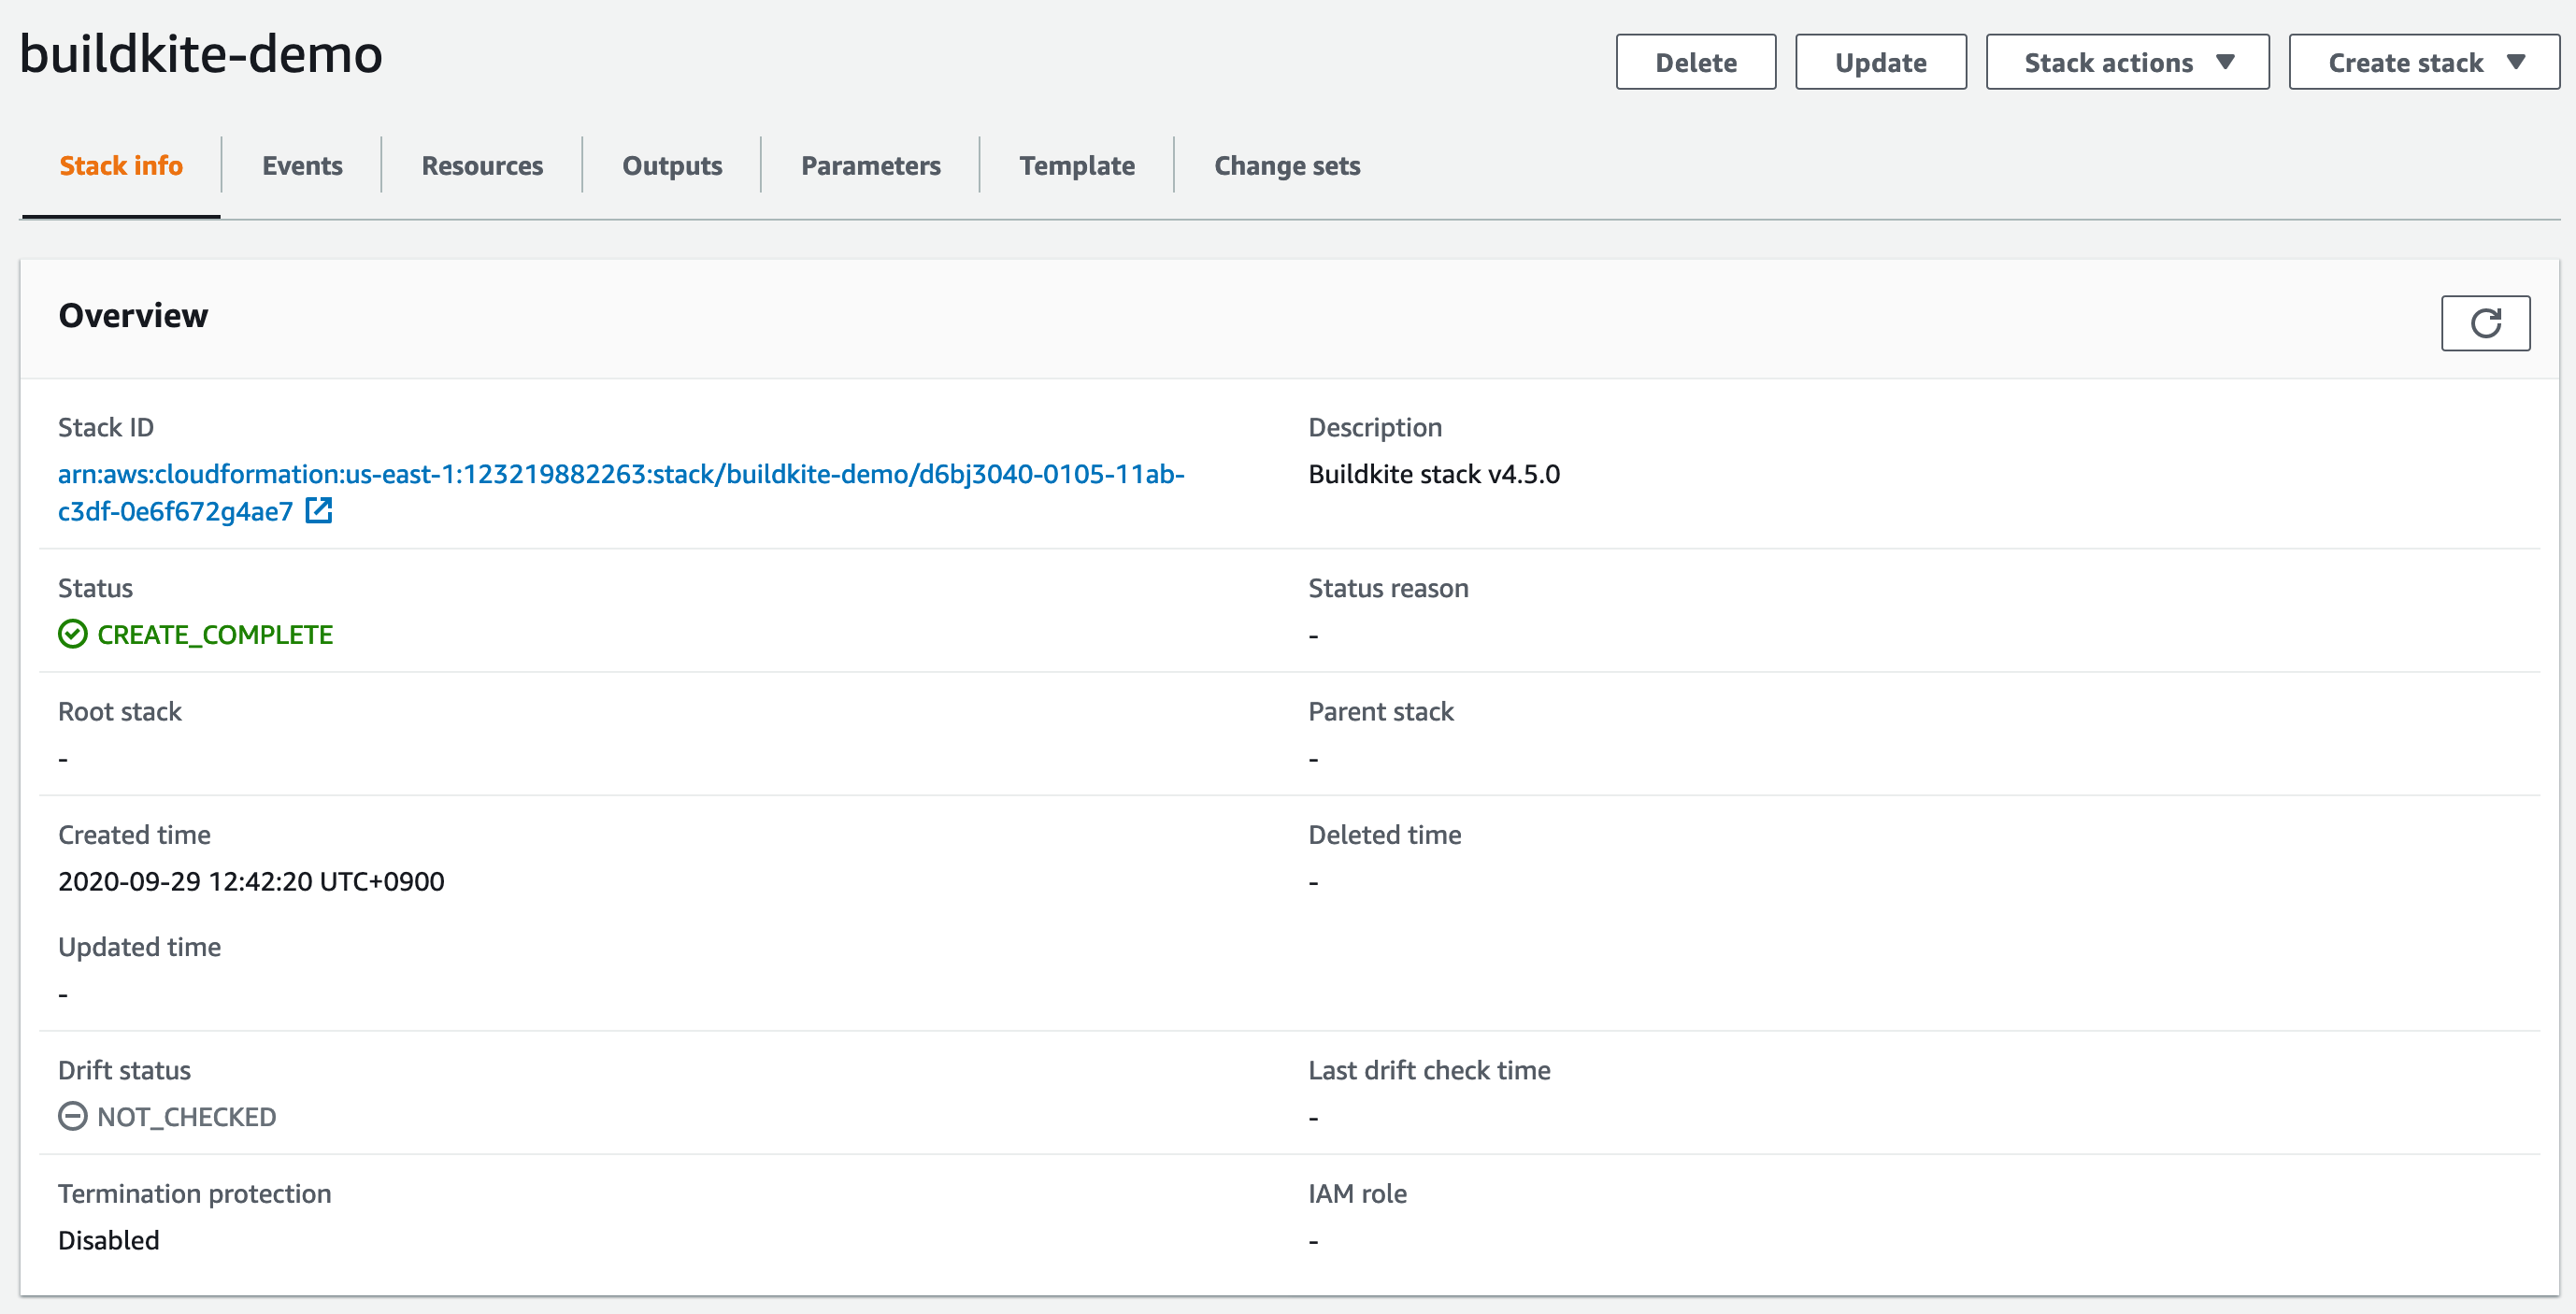
After creating the stack, Buildkite takes you to the CloudFormation console. Select the Refresh icon in the top right hand corner of the screen until you see the stack status is CREATE_COMPLETE.
You now have a working Elastic CI Stack for AWS ready to run builds! 🎉
CloudFormation service role
If you want to explicitly specify the actions AWS CloudFormation can perform on your behalf when deploying the Elastic CI Stack for AWS, you can create your stack using an IAM User or Role that has been granted limited permissions, or use an AWS CloudFormation service role.
The Elastic CI Stack for AWS repository contains an experimental service role template. This template creates an IAM Role and set of IAM Policies with the IAM Actions necessary to create, update, and delete a CloudFormation Stack created with the Elastic CI Stack for AWS template.
The IAM role created by this template is used to create and delete AWS CloudFormation stacks in the test suite, but it is likely that the permissions needed for some stack parameter permutations are missing.
This template can be deployed as is, or used as the basis for your own CloudFormation service role.
Deploying the service role template
With a copy of the Elastic CI Stack for AWS repository, the service role template can be deployed using the AWS CLI:
aws cloudformation deploy \
    --template-file templates/service-role.yml \
    --stack-name buildkite-elastic-ci-stack-service-role \
    --capabilities CAPABILITY_IAM
Once the stack has been created, the role ARN (Amazon Resource Name) can be retrieved using:
aws cloudformation describe-stacks \
    --stack-name buildkite-elastic-ci-stack-service-role \
    --query "Stacks[0].Outputs[?OutputKey=='RoleArn'].OutputValue" \
    --output text
This role ARN can be passed to an aws cloudformation create-stack invocation
as a value for the --role-arn flag.