Bitbucket
Buildkite integrates with Bitbucket to provide automated builds based on your source control. You can run a build every time you push code to Bitbucket, and pull requests can have their build status live-updated as builds progress.
This guide shows you how to set up your Bitbucket builds with Buildkite.
Accessing private repositories
Connecting Bitbucket to Buildkite configures webhooks and commit statuses. To give your agents access to clone private repositories, you need to configure code access separately. The recommended approach is to store an SSH key as a Buildkite secret and reference it with checkout.ssh_secret in your pipeline YAML. For full setup instructions, see self-hosted agent code access or Buildkite hosted agent code access.
Set up the Bitbucket webhook
Once you've created a pipeline in Buildkite and copied in your Bitbucket repository URL, Buildkite shows you setup instructions for configuring your Bitbucket webhooks.
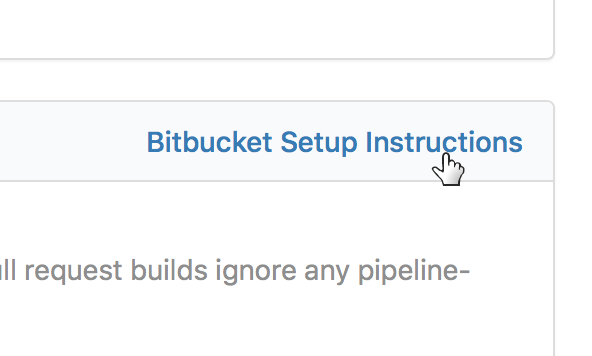
You can also find these instructions by following the Bitbucket Setup Instructions link on your Buildkite pipeline's Settings page:
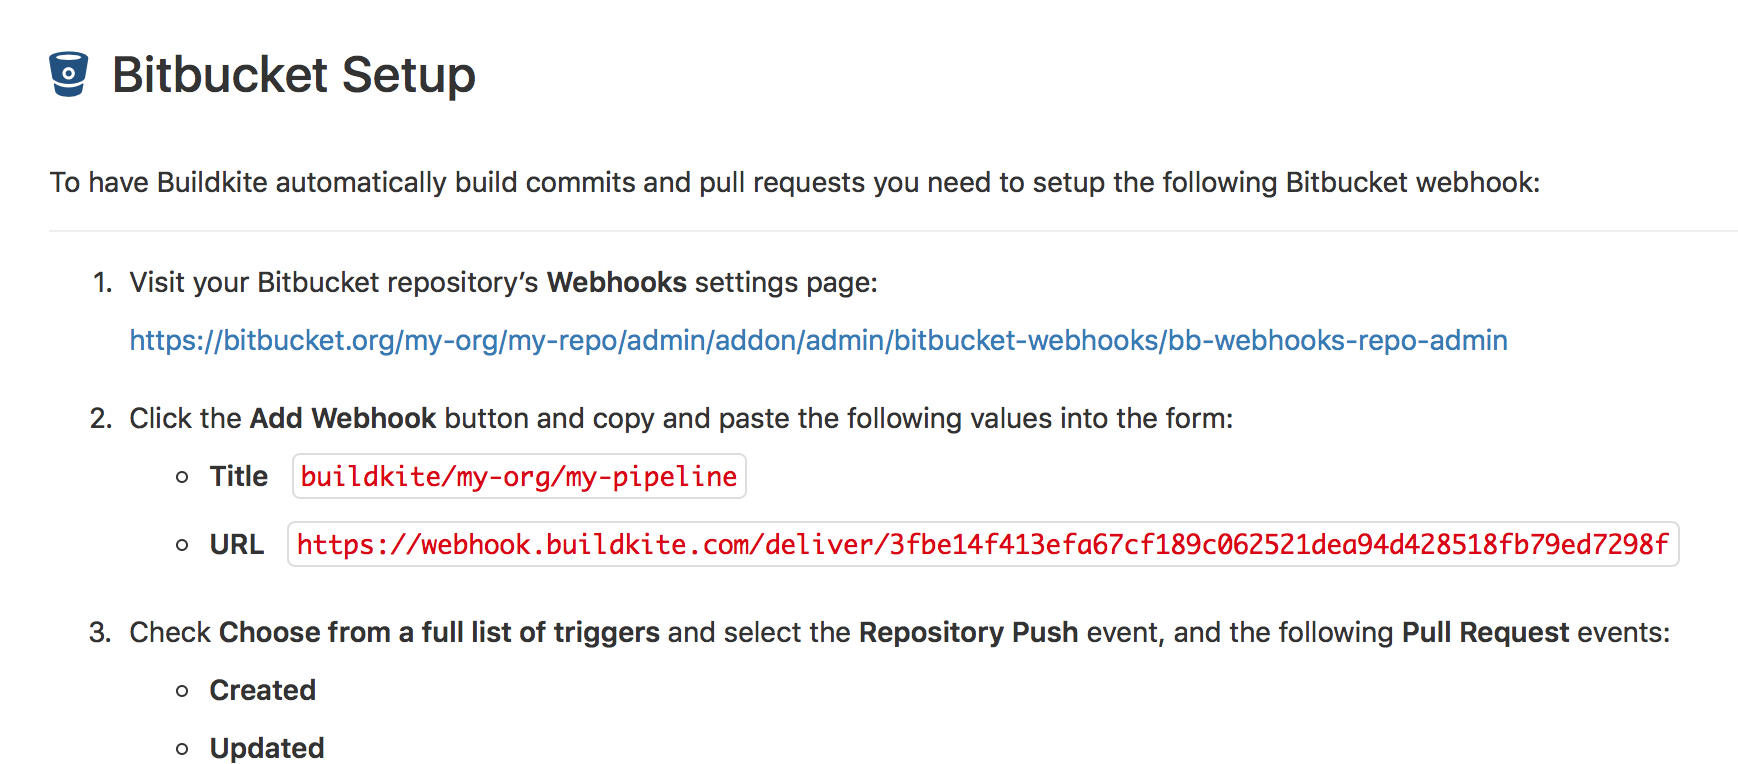
The setup instructions give you:
- A direct link to your Bitbucket repository's Webhooks settings
- Instructions
- A custom webhook URL for the pipeline
Once you've followed the link you can add a new webhook:
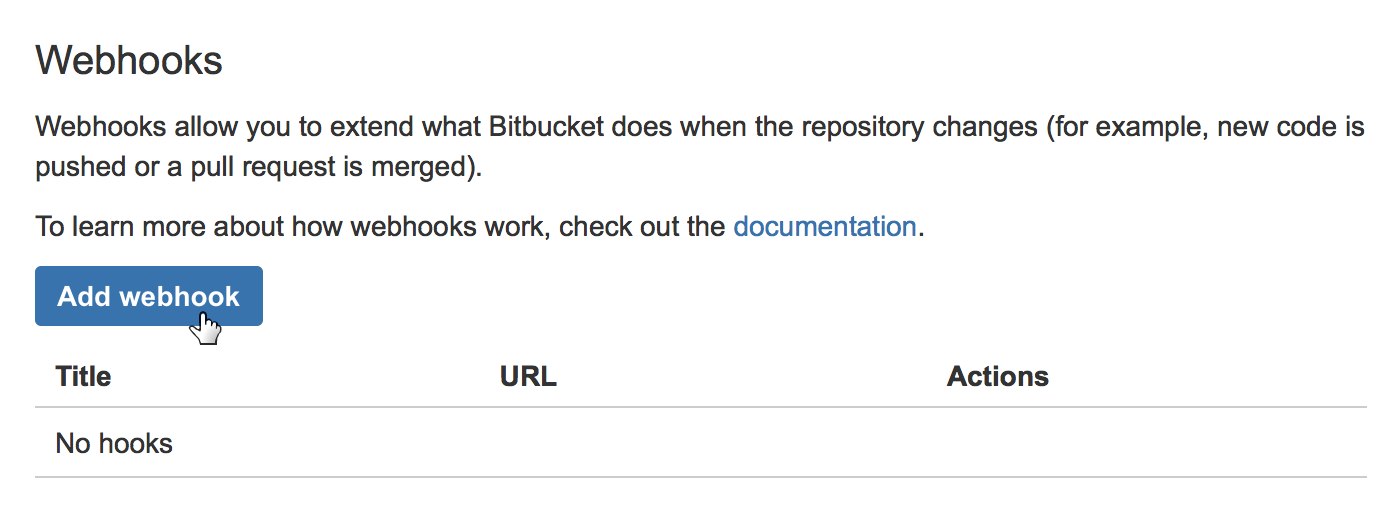
After filling out the webhook details using the instructions from your Buildkite pipeline settings, select Save, and you're ready to trigger a build.
Enable commit status updates
If you want your Bitbucket pull request's build status icons to update as builds progress, you need to connect your Bitbucket account with Buildkite. You only need to do this once, and if you don't need build status updates you can skip this step altogether.
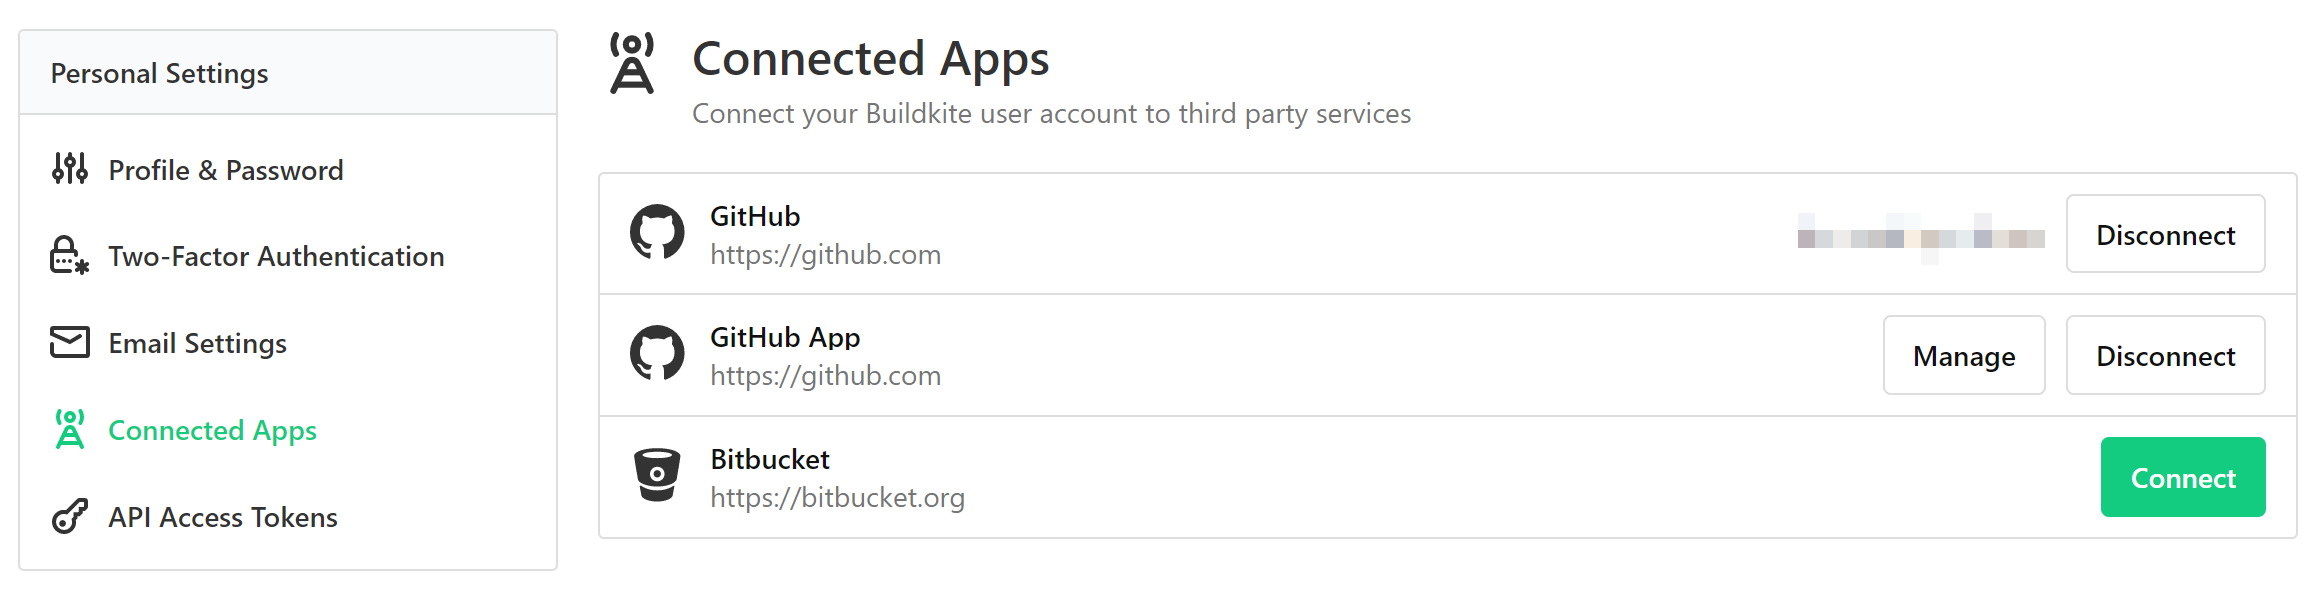
To connect your Bitbucket account:
- Open Buildkite's Personal Settings.
- Choose Connected Apps.
- Select Connect next to Bitbucket.
Buildkite prompts you to give permission for Buildkite to post status updates, then redirects back to your Connected Apps page.
Branch configuration and settings
You can edit the version control provider settings for each pipeline from the pipeline's settings page. Go to Pipelines > your specific pipeline > Settings > your Git service provider.
If you need more control over your pipeline configuration, add a pipeline.yml to your repository. Then you can use conditionals and branch filtering to configure your pipeline.
Using one repository in multiple pipelines and organizations
If you want to use the same repository in multiple pipelines (including pipelines in different Buildkite organizations), you need to configure a separate webhook for each pipeline. Follow the webhook setup instructions in the Buildkite UI. Buildkite shows you these instructions when you create the pipeline, but you can also find them in Pipeline > your specific pipeline > Settings > your Git service provider > your Git service provider's Setup Instructions.
Build skipping
You may not always want to rebuild on every commit, or branch. You can configure Buildkite to ignore individual commits or branches, or to skip builds under certain conditions.