Single sign-on with ADFS
You can use Active Directory Federation Services (ADFS) for your Buildkite organization. To complete this tutorial, you need admin privileges for both your ADFS server and Buildkite.
Enterprise plan feature and setting up with GraphQL
ADFS capabilities for SSO are only available to Buildkite customers on the Enterprise plan.
You can also set up SSO providers manually with GraphQL. See the SSO setup with GraphQL guide for detailed instructions and code samples.
Step 1. Create a Buildkite SSO provider
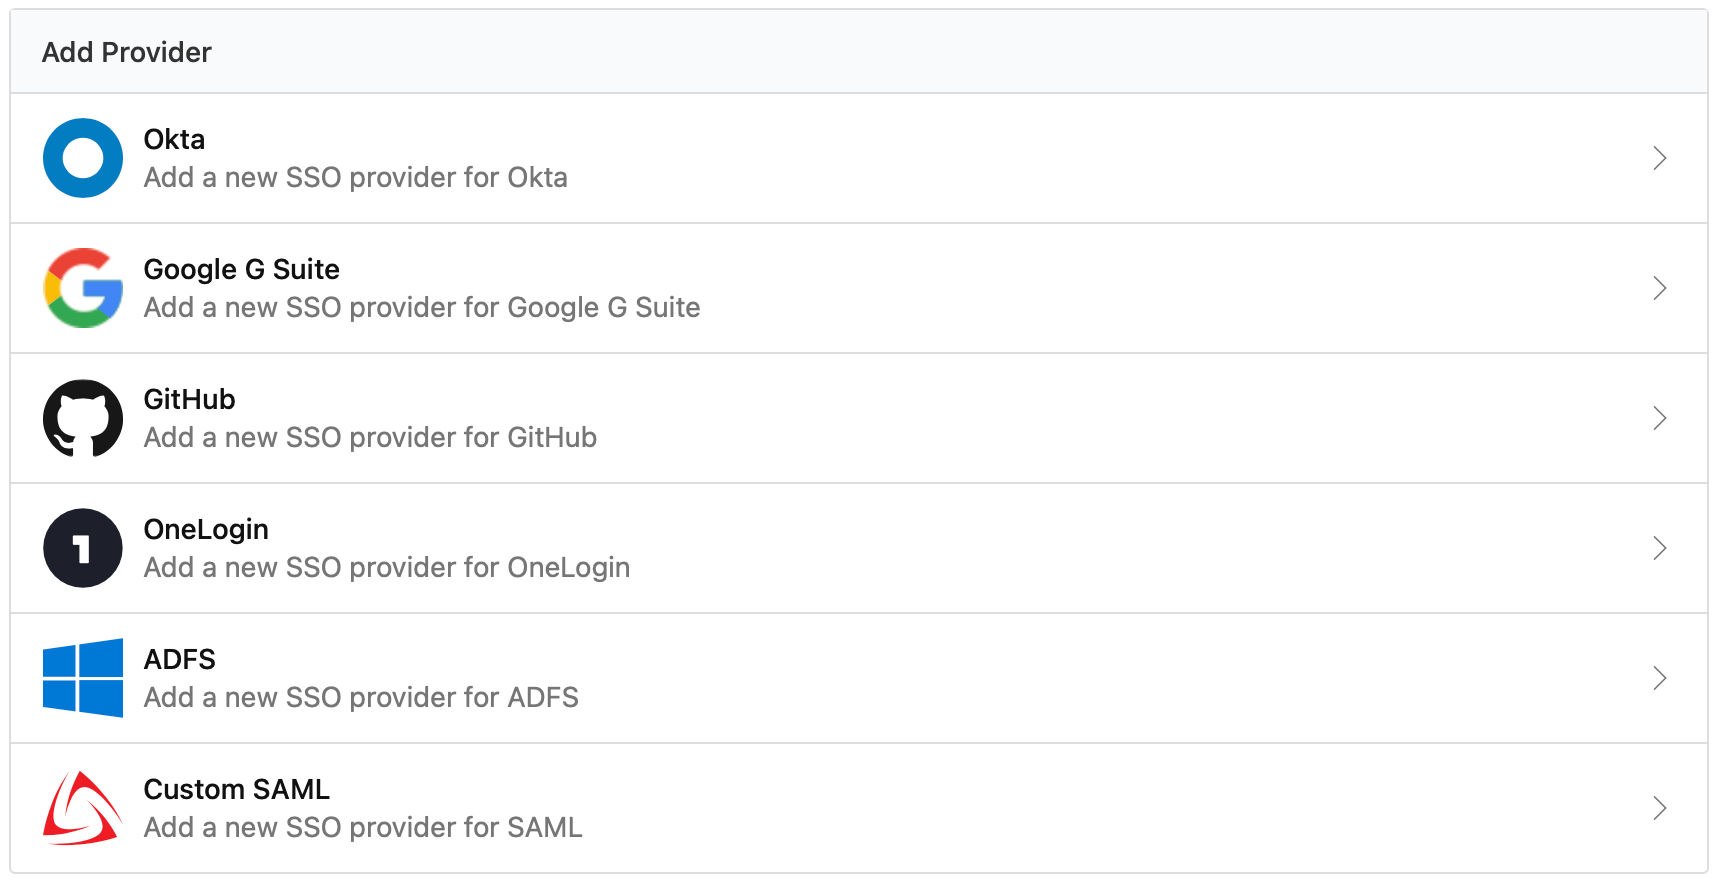
Click the Buildkite organization Settings' Single Sign On menu item, then choose the ADFS provider from the available options:
On the following page, copy the ACS URL for use in Step 2.
Step 2. Set up Buildkite in the ADFS management console
The instructions below guide you through using a series of wizards to:
- Add a Relying Party Trust
- Add an Issuance Transform Rule, a type of Claim Rule
- Export the Token-signing Certificate
- Update the Authentication Policy
With these wizards, you'll set up your domain for SSO and retrieve the information the Buildkite team requires to complete the setup process.
This guide was written for, and tested using, Windows Server 2016
Some of the wizard pages and dialog tab names have changed across versions of Windows Server.
For a guide written for Windows Server 2012, the PagerDuty SSO integration guide is very similar to Buildkite. Follow the PagerDuty instructions, and substitute in the Buildkite values from the instructions below.
Step 2.1 Add a relying party trust
From the Actions sidebar, click Add relying party trust... to start the wizard:
- Welcome: Select Claims aware.
- Select data source: Select Enter data about the relying party manually.
-
Specify display name: Call your relying party
Buildkite. - Choose profile: Select ADFS profile.
- Configure certificate: Skip this step, as you don't need a token encryption certificate.
- Configure URL: Select Enable support for the SAML 2.0 WebSSO protocol. Enter the ACS URL from Buildkite as your Relying party SAML 2.0 SSO service URL.
-
Configure identifiers:
Enter
https://<your IDP url>/adfs/services/trustinto the Relying party trust identifier field. Click Add to add it to the Relying party trust identifiers list. - Choose Access Control Policy: Choose Permit everyone. You can choose to select specific users, but that involves further steps that aren't covered by this guide.
- Ready to add trust: Review your settings to make sure all the URLs are correct.
- Finish: Leave the Configure claims issuance policy for this application box checked. Click Close to close the wizard and save your setup.
In the Actions sidebar, you should now have a subheading Buildkite.
Step 2.2 Add an issuance transform rule
From the Buildkite section of the Actions sidebar, click Edit claim issuance policy....
From this point, add three rules, where each one begins with using the Add Rule button on the Issuance transform rules tab:
Rule 1
- Choose rule type: Send LDAP Attributes as claims
-
Configure claim rule:
- Claim Rule Name: Get Attributes
- Attribute Store: Active Directory
-
Mapping of LDAP Attributes to outgoing claim types:
- LDAP Attribute: Email Addresses, Outgoing claim type: Email address
- LDAP Attribute: Display-Name, Outgoing claim type: Name
- Click Finish to add the rule.
Rule 2
- Choose rule type: Transform an incoming claim
-
Configure claim rule:
- Claim Rule Name: Name ID Transform
- Incoming Claim Type: Email address
- Outgoing Claim Type: Name ID
- Outgoing Name ID Format: Email
- Select Pass through all claim values
- Click Finish to add the rule.
Rule 3
- Choose rule type: Send claims using a custom rule
-
Configure claim rule:
- Claim Rule Name: Attribute Name Transform
-
Custom Rule:
c:[Type == "https://schemas.xmlsoap.org/ws/2005/05/identity/claims/name "]
  => issue(Type = "Name", Issuer = c.Issuer, OriginalIssuer = c.OriginalIssuer, Value = c.Value, ValueType = c.ValueType);
- Click Finish to add the rule.
- Click OK to save and exit the Claim Issuance Policy dialog.
For more information on what other attributes Buildkite accepts, see the SAML user attributes table.
Step 2.3 Export the token signing certificate
From the Service section of the ADFS console tree, select the Certificates subsection.
- Click on the certificate listed under the heading Token-signing.
- In the CN=ADFS Signing section of the Actions sidebar, click View Certificate....
- In the Certificate dialog, select the Details tab.
- Click the Copy to File... button.
- Start the Certificate Export Wizard.
- Export File Format: select Base-64 encoded X.509 (.CER).
- File to Export: name your file, and choose where you'd like to export the file
- Check the settings are correct, and click Finish.
Step 2.4 Update the authentication policy
From the Service section of the ADFS console tree, select the Authentication Methods subsection.
- Under the Primary Authentication Methods header, click the Edit link.
- In the Intranet section, ensure that the Forms Authentication box is checked.
- Click OK to exit the dialog.
Step 3. Update your Buildkite SSO provider
On your Buildkite organization settings' Single Sign On page, select your ADFS provider from the list of Configured SSO Providers.
Click the Edit Settings button, choose the Manual data option, and enter the IdP data you saved during the previous step:
| Login URL |
The URL where you can log in to your ADFS service. Usually your domain name or IP, with /adfs/ls appended.
|
| Federation Service Identifier |
The URL that identifies your ADFS service. Usually your domain name or IP, with /adfs/services/trust appended.
|
| X.509 certificate | Attach the X.509 certificate that you downloaded during setup |
Step 4. Perform a test login
Follow the instructions on the provider page to perform a test login. Performing a test login verifies that SSO is working correctly before you activate it for your organization members.
Step 5. Enable the new SSO provider
Once you've performed a test login you can enable your provider using the Enable button. Activating SSO will not force a log out of existing users, but will cause all new or expired sessions to authorize through ADFS before organization data can be accessed.
If you need to edit or update your ADFS provider settings at any time, you will need to disable the provider first. For more information on disabling a provider, see the disabling SSO section of the SSO overview.
SAML user attributes
Buildkite accepts a subset of the SAML attributes from identity providers. The accepted attributes are:
| Attribute | Description |
|---|---|
admin |
A boolean value that describes whether the user should be provisioned with admin permissions Example: true |
email |
A string of the user's email address Example: "person@company.com" |
name |
A string of the user's full name Example: "Han Solo" |
teams |
A comma separated list of team UUIDs. A team's UUID can be found on the Team Settings page in Buildkite. Example: a1aaaa1a-b2bb-cccc-d4dd-aa2aaa6aaaaa,b5bbbbbb-3aaa-dd1d-aaa1-eee4eee6eeee
|
When using the teams attribute, you can also specify roles. The maintainer or member role can be appended to the team UUID.
For example, the following code will specify the member role for the first team and the maintainer role for the second team:
teams="b5bbbbbb-3aaa-dd1d-aaa1-eee4eee6eeee/member, a1aaaa1a-b2bb-cccc-d4dd-aa2aaa6aaaaa/maintainer"