Slack (legacy)
The per-channel Slack notification service described on this page is the legacy approach to sending Buildkite Pipelines build notifications to Slack. New integrations should use the Slack Workspace notification service instead, which only requires a single, once-off configuration per Slack workspace and lets you notify any channel or user from your pipeline.yml. The Slack Workspace notification service is also required for additional features such as the pipeline.started_passing and pipeline.started_failing conditionals.This page is retained for Buildkite organizations that have not yet migrated.
The legacy Slack notification service in Buildkite lets you receive notifications about your builds and jobs in your Slack workspace.
Configuring a legacy Slack notification service authorizes access for a single channel or user. By default, notifications are sent to all Slack channels and users that have been added and configured as separate Slack notification services through the Buildkite interface.
Setting up a notification service requires Buildkite organization admin access.
Adding a notification service
In your Buildkite organization's Notification Services settings, add a Slack notification service:

Click the Add to Slack button:

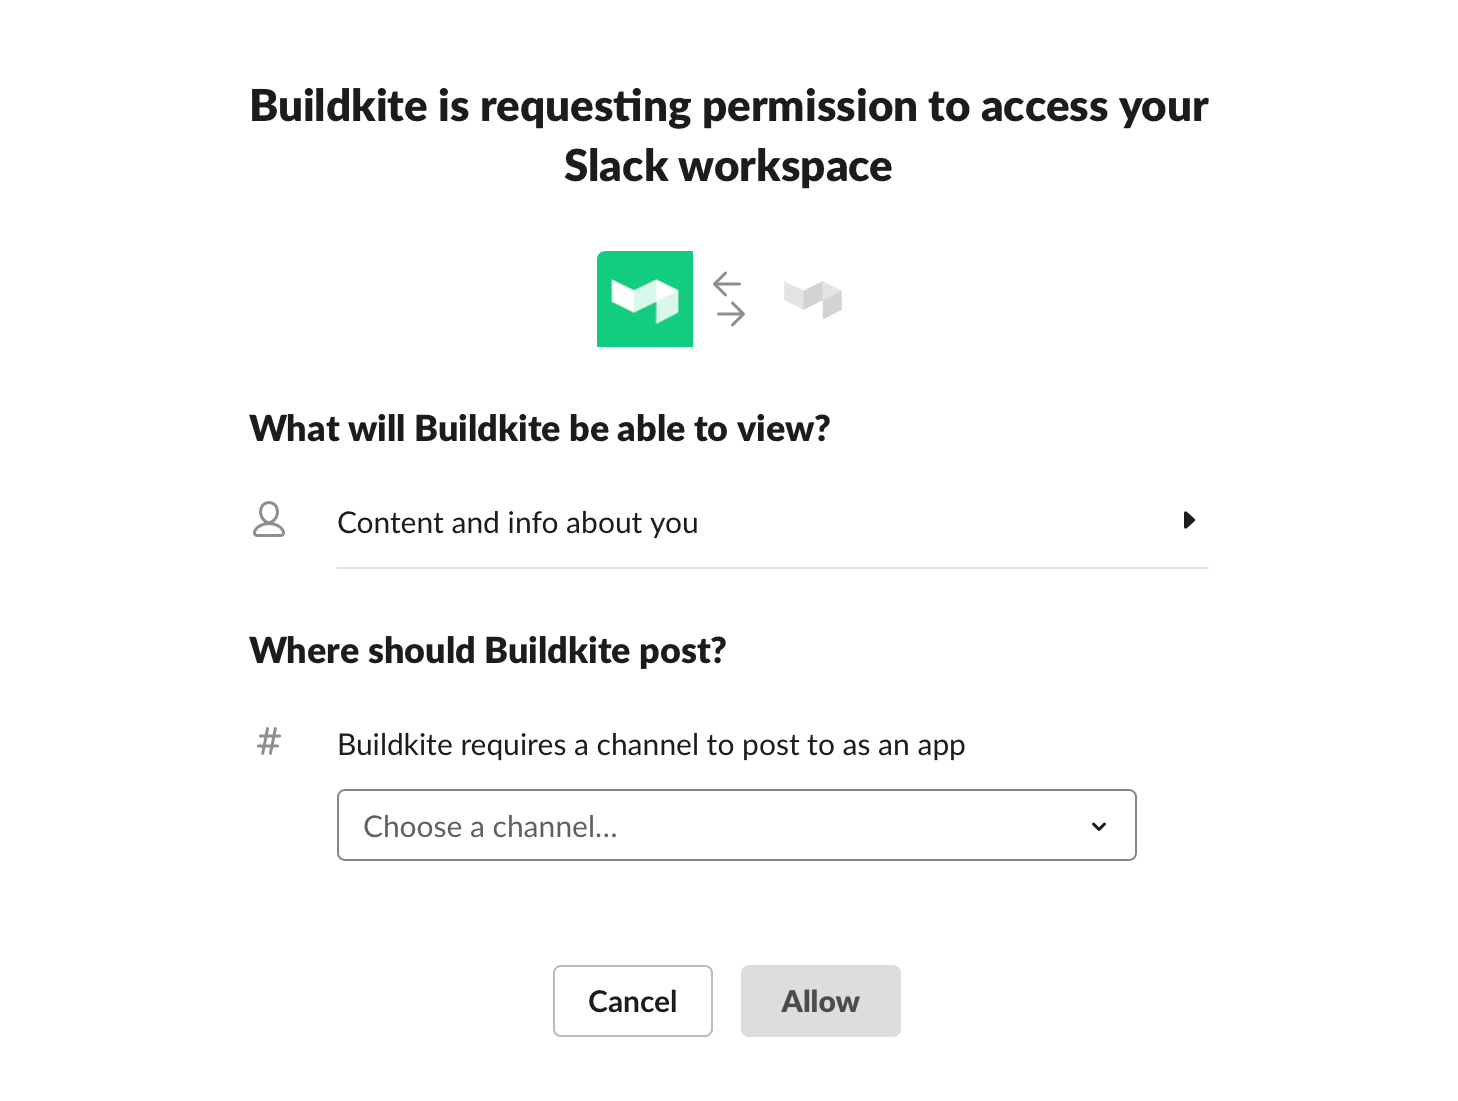
Once logged in to Slack, choose a workspace, and grant Buildkite the ability to post in your chosen channel or user:
Once you have granted access to your chosen channel or user in your Slack workspace, use the following fields to configure when automated Slack notifications are sent:
- Description to give this notification service a name.
- Message theme to choose how the notifications should be displayed.
- Pipelines to choose which pipelines are allowed to send notifications.
- Branch filtering to specify patterns for branches (each separated by a space), whose builds will trigger when notifications can be sent.
- Build state filtering to choose the conditions for which build states send notifications.

There is a default maximum number of 50 legacy Slack notification services that can be added to your Buildkite organization. If you are an Enterprise plan customer and need more legacy Slack notification services than this limit, please contact support@buildkite.com. To avoid this limit altogether, use a Slack Workspace notification service, which only requires you to configure a single service for your Slack workspace.
Once your legacy Slack notification services have been configured, notifications are automatically sent at the pipeline level, but not on the outcomes of individual steps.
The Choose notifications to send > When a build passes > After a failure ("Fixed") option ensures you're notified when a build next passes after the selected When a build is states.
If you're also using the notify YAML attribute in your pipelines for more fine grained control over your Slack notifications, ensure you've selected the Only Some Pipelines... option, and have excluded these pipelines from receiving the automatic notifications (that is, leave these pipelines' checkboxes clear).
Changing channels and users
Once a legacy Slack notification service has been added, its Slack channel, user and workspace cannot be changed. To post to a different channel, user or workspace, you'll need to add a new Slack notification service. Alternatively, migrate to the Slack Workspace notification service, which only requires a once-off configuration per Slack workspace and lets you notify any channel or user from your pipeline.yml.
Conditional notifications
By default, notifications are sent to all configured Slack channels. For more control over when each channel receives notifications, use the notify YAML attribute in your pipeline.yml file.
See the Slack channel message section of the Notifications guide for the configuration information.
Upgrading a legacy Slack service
Slack stopped accepting notifications from legacy Buildkite services on January 10th, 2020.
If you have Slack set up with a legacy service or are no longer receiving notifications, add a new Slack Workspace notification service in your Buildkite organization's Notification Services settings.
Identify where your existing services post notifications
Compare the webhook URLs from your Buildkite notification service with your Slack integration to find your existing notification settings.
Finding your Buildkite webhook URL: select the Slack notification service in Buildkite. The webhook URL is listed here.
Finding your Slack integration's webhook URL:
- In your Slack workspace's App Directory, select the Manage button and find the Buildkite app.
- Select the Buildkite app, then select the pencil button to edit your configuration.
- The webhook URL is listed under Integration Settings.
Confirm which pipelines, and which events, are posted
Once you've found the matching Buildkite service and Slack app, confirm where and what you're posting to Slack. Take note of the events and pipelines so that you can set up a new notification service.
Create a new Slack notification service
Buildkite recommends migrating to the Slack Workspace notification service, which only requires a single, once-off configuration per Slack workspace. If you must continue using the legacy per-channel approach, add a new Buildkite notification service with the same settings as the previous integration.
Privacy policy
For details on how Buildkite handles your information, please see Buildkite's Privacy Policy.