Single sign-on with Microsoft Entra ID (Azure AD)
You can use Microsoft Entra ID (formerly known as Azure Active Directory) as an SSO provider for your Buildkite organization. To complete this tutorial, you need admin privileges for both Azure and Buildkite.
You can also set up SSO providers manually with GraphQL.
See the SSO setup with GraphQL guide for detailed instructions and code samples.
Step 1. Create a Buildkite SSO provider
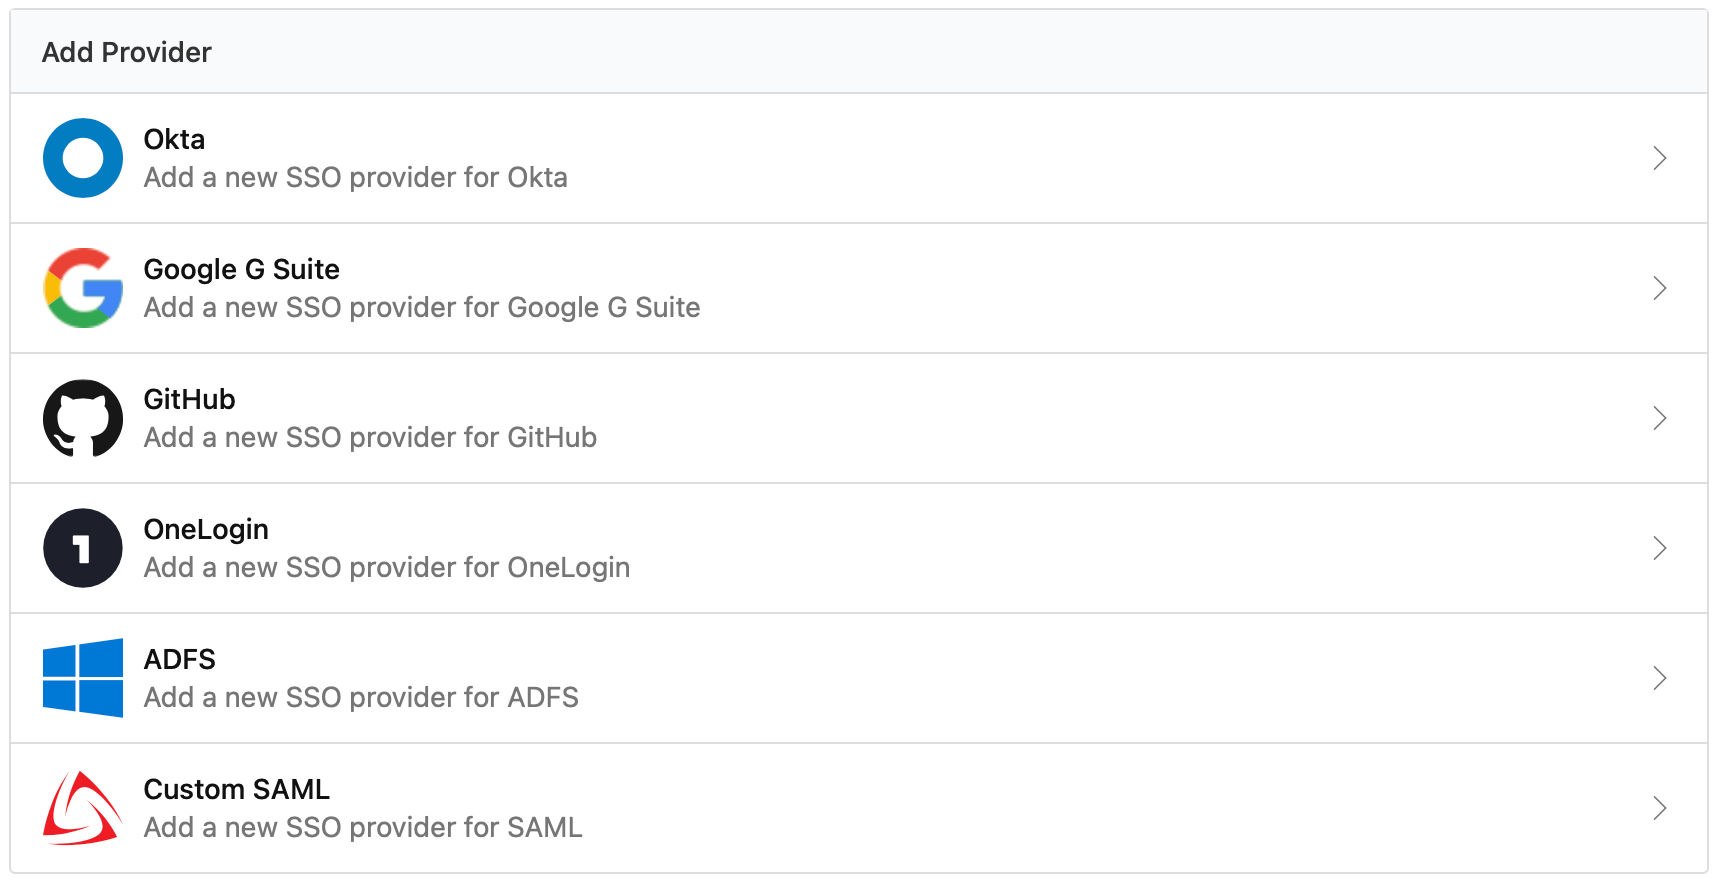
In your Buildkite organization Settings, click Single Sign On, then choose the custom SAML provider from the available options:
- Choose the Provide IdP Metadata Later option when configuring your custom SAML provider
- Copy the Assertion Consumer Service (ACS) URL for use in Step 2
Step 2. Add Buildkite in Azure AD
In your Azure Admin Console, follow these instructions:
- Choose Azure Active Directory, and under Quick actions, choose Add enterprise application.
- Click + Create your own application.
- Give your application a name, for example 'Buildkite'.
- Choose Integrate any other application you don't find in the gallery (Non-gallery) and click Create.
- Choose Set up single sign on, then SAML, then in the Basic SAML Configuration box, choose Edit.
- Enter the following configuration and save:
-
Identifier (Entity ID):
https://buildkite.com - Reply URL (Assertion Consumer Service URL): the ACS URL you copied in Step 1
-
Identifier (Entity ID):
- Copy the App Federation Metadata Url value from the SAML Signing Certificate box for use in Step 3.
Step 3. Update your Buildkite SSO provider
On your Buildkite organization Settings' Single Sign On page, select the custom SAML provider from the list of Configured SSO Providers.
- Click the Edit Provider button, choose the Configure Using IdP Meta Data URL option, and enter the App Federation Metadata Url you copied in Step 2.
- Save your new settings. Buildkite returns you to your custom SAML provider page.
Step 4. Perform a test login
On your Custom SAML provider page, click Perform Test Login to verify that SSO is working correctly before you activate it for your organization members.
If you receive an error from Microsoft about the user not being assigned to the application, you can assign an initial user:
- In your Azure Admin Console, select the new Buildkite enterprise app.
- Choose Users and groups from the navigation sidebar.
- Click Add user/group.
- Select the user and click Assign.
Then, on your Buildkite organization Settings' Single Sign On page, select the custom SAML provider from the list of Configured SSO Providers, and retry the test login.
Step 5. Enable the new SSO provider
Once you've performed a test login you can enable your SSO provider using the Enable button. Enabling the SSO provider will not force a log out of any signed in users, but will cause all new or expired sessions to authorize through Azure AD before accessing any organization data.
If you need to edit or update your Azure Active Directory provider settings, you will need to disable the SSO provider first.
Using SCIM to provision and manage users
Buildkite customers on the Enterprise plan can automatically add and remove user accounts from their Buildkite organization using the SCIM provisioning settings in Azure AD.
Supported SCIM features
- Create users
- Deactivate users (deprovisioning)
Buildkite does not bill you for users that you add to Azure AD until they sign in to your Buildkite organization.
Configuration instructions
Adding and removing users accounts in Azure AD is called provisioning. You need an enabled Azure AD SSO Provider for your Buildkite Organization before you can set up SCIM provisioning.
User deprovisioning is an Enterprise plan-only feature and is automatically enabled. As an Enterprise plan customer, if you are using a custom provider, please contact support@buildkite.com to have this feature enabled.
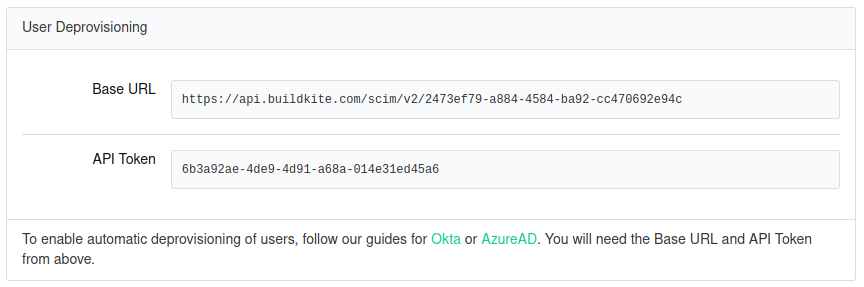
After enabling your Azure AD SSO provider in Buildkite, get the Base URL and API Token from your Azure AD SSO provider settings:
Then go to your Azure Admin Console and select the new Buildkite enterprise app to set up provisioning:
- Choose Provisioning from the navigation sidebar, then click Get started.
- Select Automatic provisioning mode and enter the following details:
- Tenant URL: the Base URL from your Buildkite SSO Provider settings
- Secret Token: the API Token from your Buildkite SSO Provider settings
- Click Test Connection, and when you receive confirmation the settings are valid, save.
- Disable group synchronization:
- Expand Mappings, then click Provision Azure Active Directory Groups.
- Toggle Enabled to No and click Save.
- Customize the User mappings:
- Expand Mappings, then click Provision Azure Active Directory Users.
- Keep the following four mappings, and delete any others:
-
userPrincipalNametouserName -
Switch([IsSoftDeleted], , "False", "True", "True", "False")toactive -
givenNametoname.givenName -
surnametoname.familyName
-
- Toggle Provisioning Status to On and save.
- Return to the Provisioning menu of your Azure AD enterprise app and view the Current cycle status section:
- If provisioning is working, this will say Initial cycle completed.
- If errors are displayed, click View provisioning logs for more details on what went wrong.
SAML user attributes
Buildkite accepts a subset of the SAML attributes from identity providers. The accepted attributes are:
| Attribute | Description |
|---|---|
admin |
A boolean value that describes whether the user should be provisioned with admin permissions Example: true |
email |
A string of the user's email address Example: "person@company.com" |
name |
A string of the user's full name Example: "Han Solo" |
teams |
A comma separated list of team UUIDs. A team's UUID can be found on the Team Settings page in Buildkite. Example: a1aaaa1a-b2bb-cccc-d4dd-aa2aaa6aaaaa,b5bbbbbb-3aaa-dd1d-aaa1-eee4eee6eeee
|
When using the teams attribute, you can also specify roles. The maintainer or member role can be appended to the team UUID.
For example, the following code will specify the member role for the first team and the maintainer role for the second team:
teams="b5bbbbbb-3aaa-dd1d-aaa1-eee4eee6eeee/member, a1aaaa1a-b2bb-cccc-d4dd-aa2aaa6aaaaa/maintainer"