
Buildkite hosted agents code access
Buildkite hosted agents can access private repositories in GitHub, Origin, and Code Storage natively when you authorize Buildkite to access the repositories. To access private repositories from another provider, you can use the checkout.ssh_secret pipeline configuration to supply an SSH key from Buildkite Secrets, or the Git SSH Checkout plugin as an alternative.
To learn more about changes that may need to be completed at an individual pipeline level, see Pipeline migration.
GitHub private repositories
To use a private GitHub repository with Buildkite hosted agents, you need to authorize Buildkite to access your repository. This process can only be performed by Buildkite organization administrators.
- Select Settings in the global navigation to access the Organization Settings page.
- In the Integrations section, select Repository Providers.
- Select the GitHub option.
- Follow the prompts to authorize the services on your GitHub account. You can restrict access to specific repositories during setup.
GitHub access token caching
Buildkite hosted agents provides a feature for temporarily caching access tokens issued by GitHub whenever Buildkite requests one as part of interacting with a private repository. This interaction is established as part of configuring the Buildkite platform as a GitHub App in your GitHub project or organization.
Buildkite caches these GitHub access tokens for 50 minutes, where they remain encrypted on the Buildkite platform. This feature allows your hosted agents to use these GitHub access tokens and avoid hitting your GitHub rate limit, since these tokens can be re-used in subsequent builds.
There's no need to configure this access token caching feature, as it's provided by default as part of Buildkite hosted agents.
Origin private repositories
When a pipeline is connected to an Origin repository, jobs running on Buildkite hosted agents automatically receive a read-only credential for checkout. No SSH key or additional pipeline configuration is required.
Buildkite issues a short-lived repository:contents:read token scoped to the exact repository configured on the pipeline. Native authentication applies only to jobs running on Buildkite hosted agents.
To connect an Origin repository, see the Origin source control integration.
Code Storage private repositories
When a pipeline uses the Code Storage integration, command jobs running on Buildkite hosted agents automatically receive a read-only checkout credential for the connected repository. No SSH key or additional pipeline configuration is required.
The credential is valid for five minutes and grants git:read access to the exact repository configured on the pipeline. This managed checkout is not available on self-hosted agents.
Public repositories
Buildkite does not require any special permissions to access public repositories.
Private repositories with other providers
To use Buildkite hosted agents with a private repository on a provider other than GitHub, Origin, or Code Storage, store an SSH private key as a Buildkite secret and reference it in your pipeline YAML. The recommended approach is to use the checkout.ssh_secret attribute, which configures the agent to fetch the key at job startup and use it automatically during Git checkout.
Specifying an SSH secret in YAML
The checkout.ssh_secret attribute references the name of a Buildkite secret containing an SSH private key. At job startup, the agent fetches the key and configures GIT_SSH_COMMAND to use it during the Git checkout.
To set this up:
- Generate an SSH key pair and add the public key to your source control provider as a deploy key or machine user key.
- Store the private key as a Buildkite secret in your hosted agents cluster. See Create a secret for instructions.
- Reference the secret in your pipeline YAML using
checkout.ssh_secret:
steps:
  - label: ":pipeline: Upload"
    command: "buildkite-agent pipeline upload"
    checkout:
      ssh_secret: "MY_SSH_KEY"
The ssh_secret key is step-level only. It is not inherited from a pipeline-level checkout block, so it must be set on each step that needs it.
For more details, see the SSH key from Buildkite Secrets section of the Git checkout documentation.
Using the Git SSH Checkout plugin
As an alternative, the Git SSH Checkout plugin can also provide SSH key-based access for private repositories. This approach may be useful for users who need plugin-level control over the checkout process or are running older agent versions that do not support checkout.ssh_secret.
To use the plugin, add it to the initial pipeline steps, and any further steps within the uploaded pipeline. The plugin reads the SSH key from a Buildkite secret. For example, if a secret named GIT_SSH_CHECKOUT_PLUGIN_SSH_KEY exists:
steps:
  - label: ":pipeline: Upload"
    command: "buildkite-agent pipeline upload"
    plugins:
      - git-ssh-checkout#v0.4.1:
Add a new pipeline
Create a new pipeline by following the Create a new pipeline without provider integration link on the New pipeline page. Complete the form with the basic details about the new pipeline, including the Git URL. At this time, the Steps can also be updated to include the checkout.ssh_secret configuration or plugin usage.
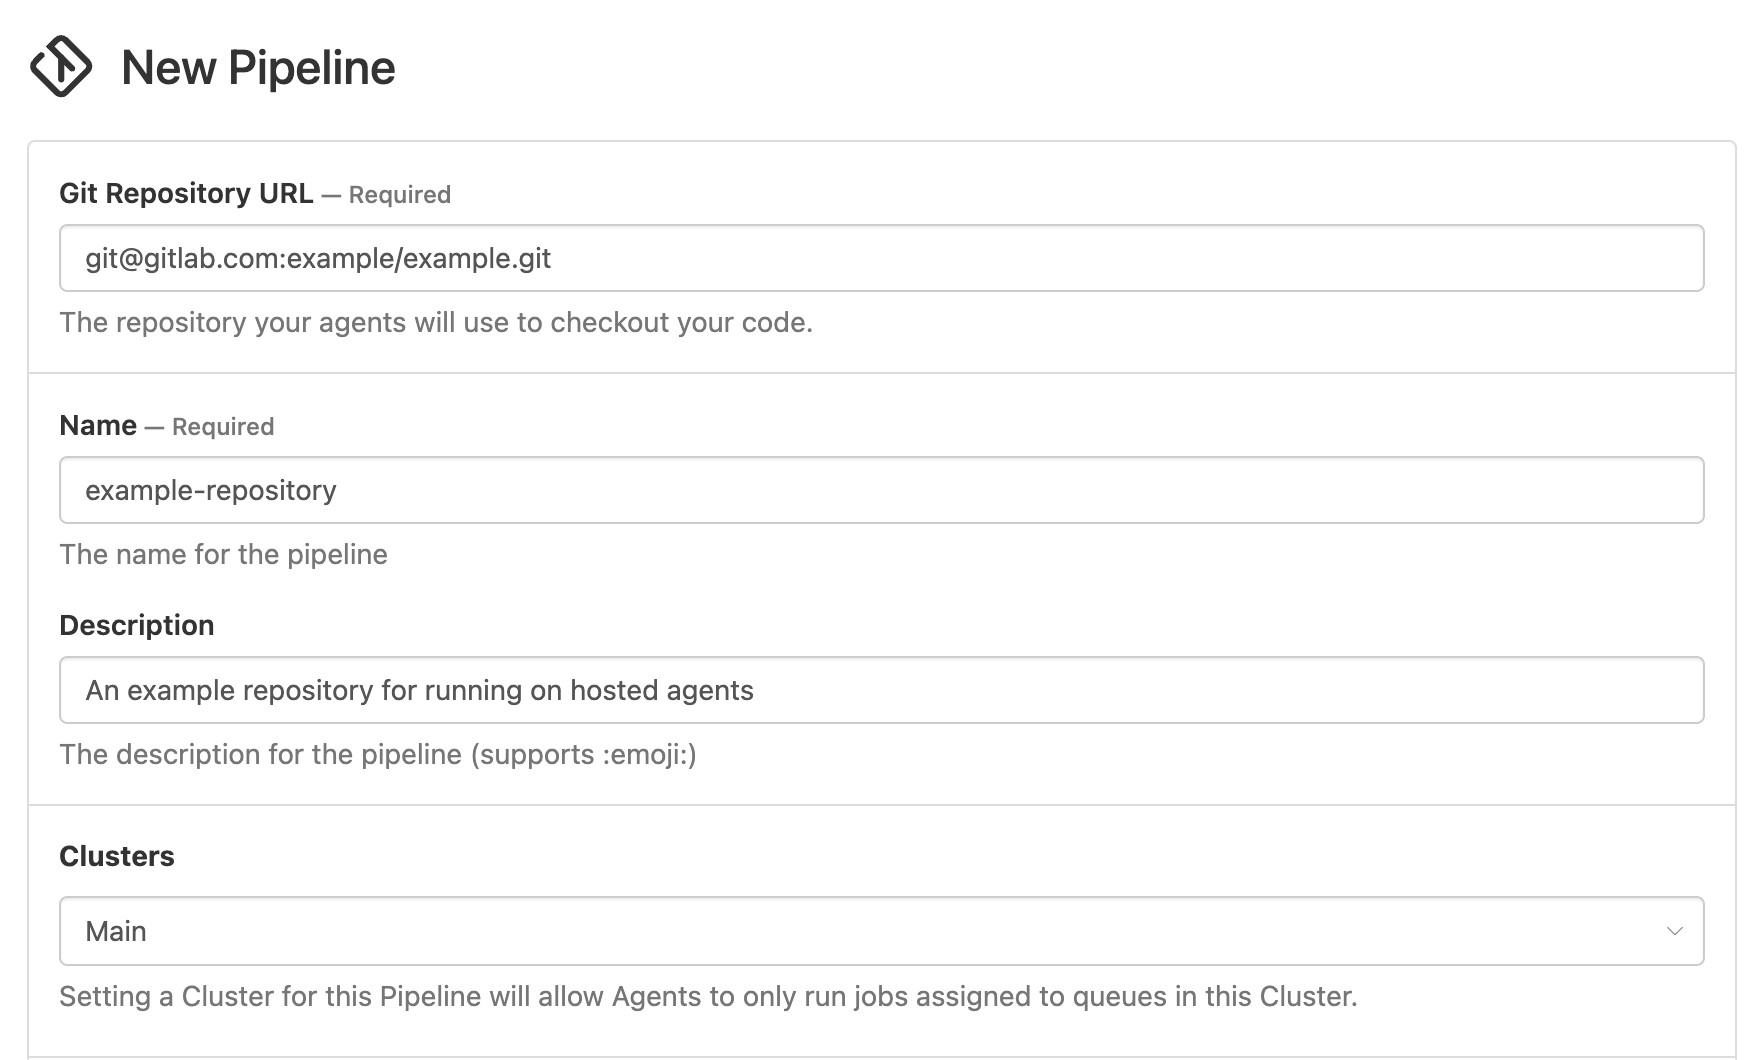
Once created, Buildkite shows a screen about setting up webhooks. If the Git provider being used supports the GitHub format of webhook communication, the details shown can be used to complete the integration. If not, you can use the Skip Webhook Setup button to skip this step. This means that builds require manual triggering.
At the completion of the pipeline creation process, a build can be triggered that uses the SSH key from the secret to clone the Git repository.