Buildkite Starter Pipeline Example
This repository is a friendly starting point for learning how Buildkite pipelines work.
See the full Getting Started Guide for step-by-step instructions on how to get this running.
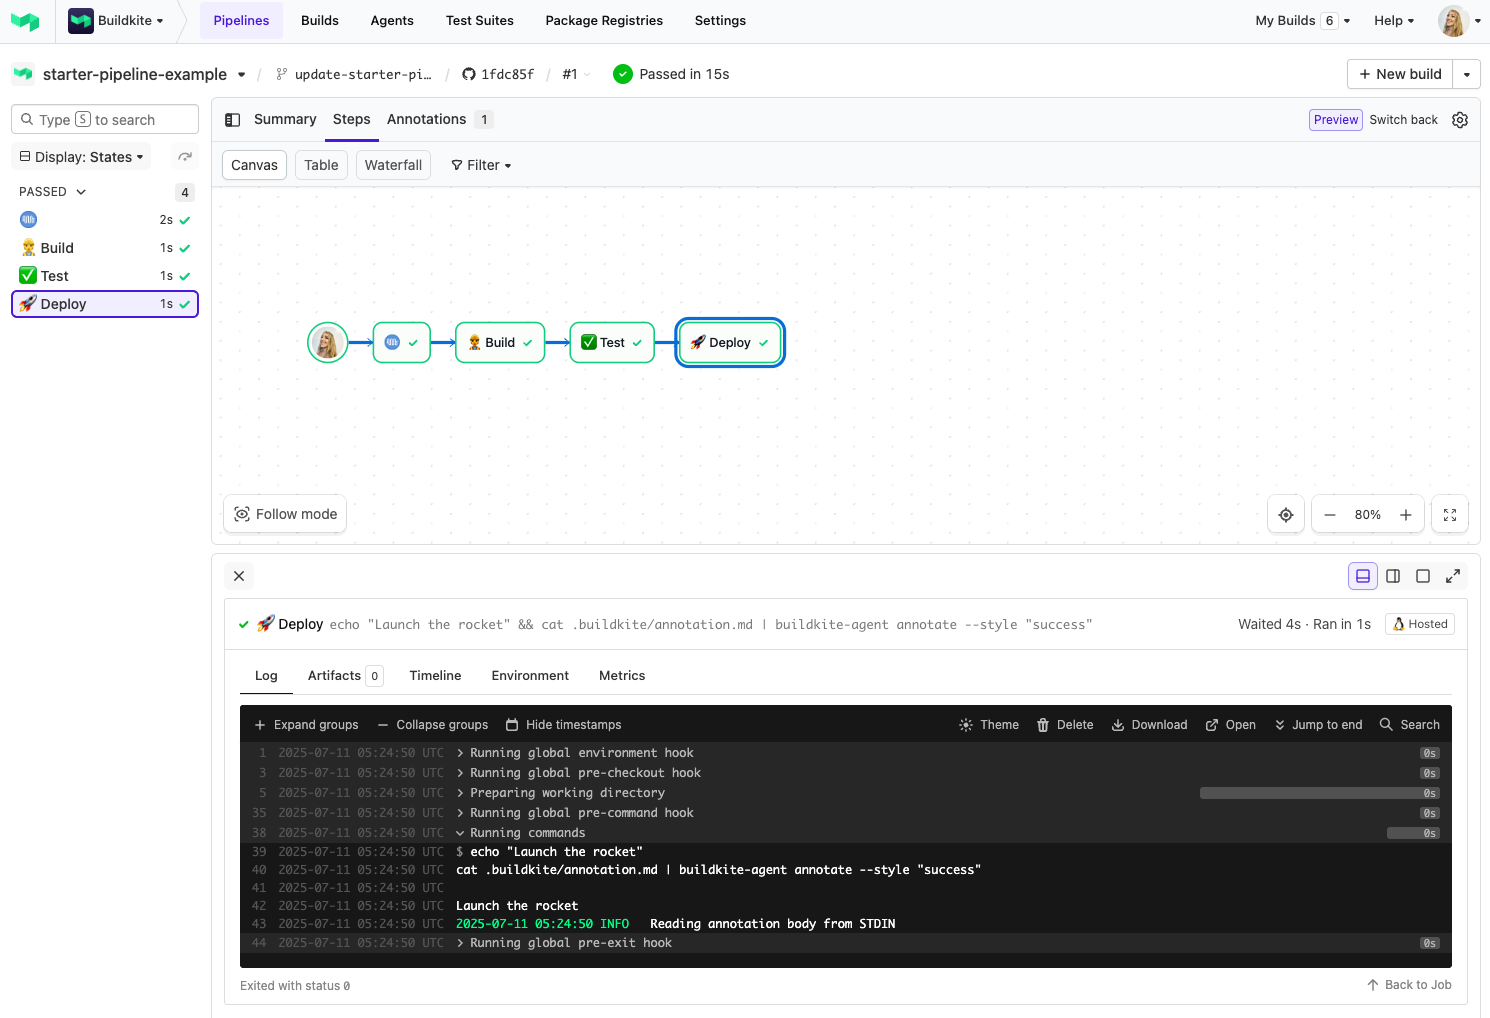
📸 Screenshot 1: A simple 3-step pipeline in action - building, testing, and deploying your rocket 🚀
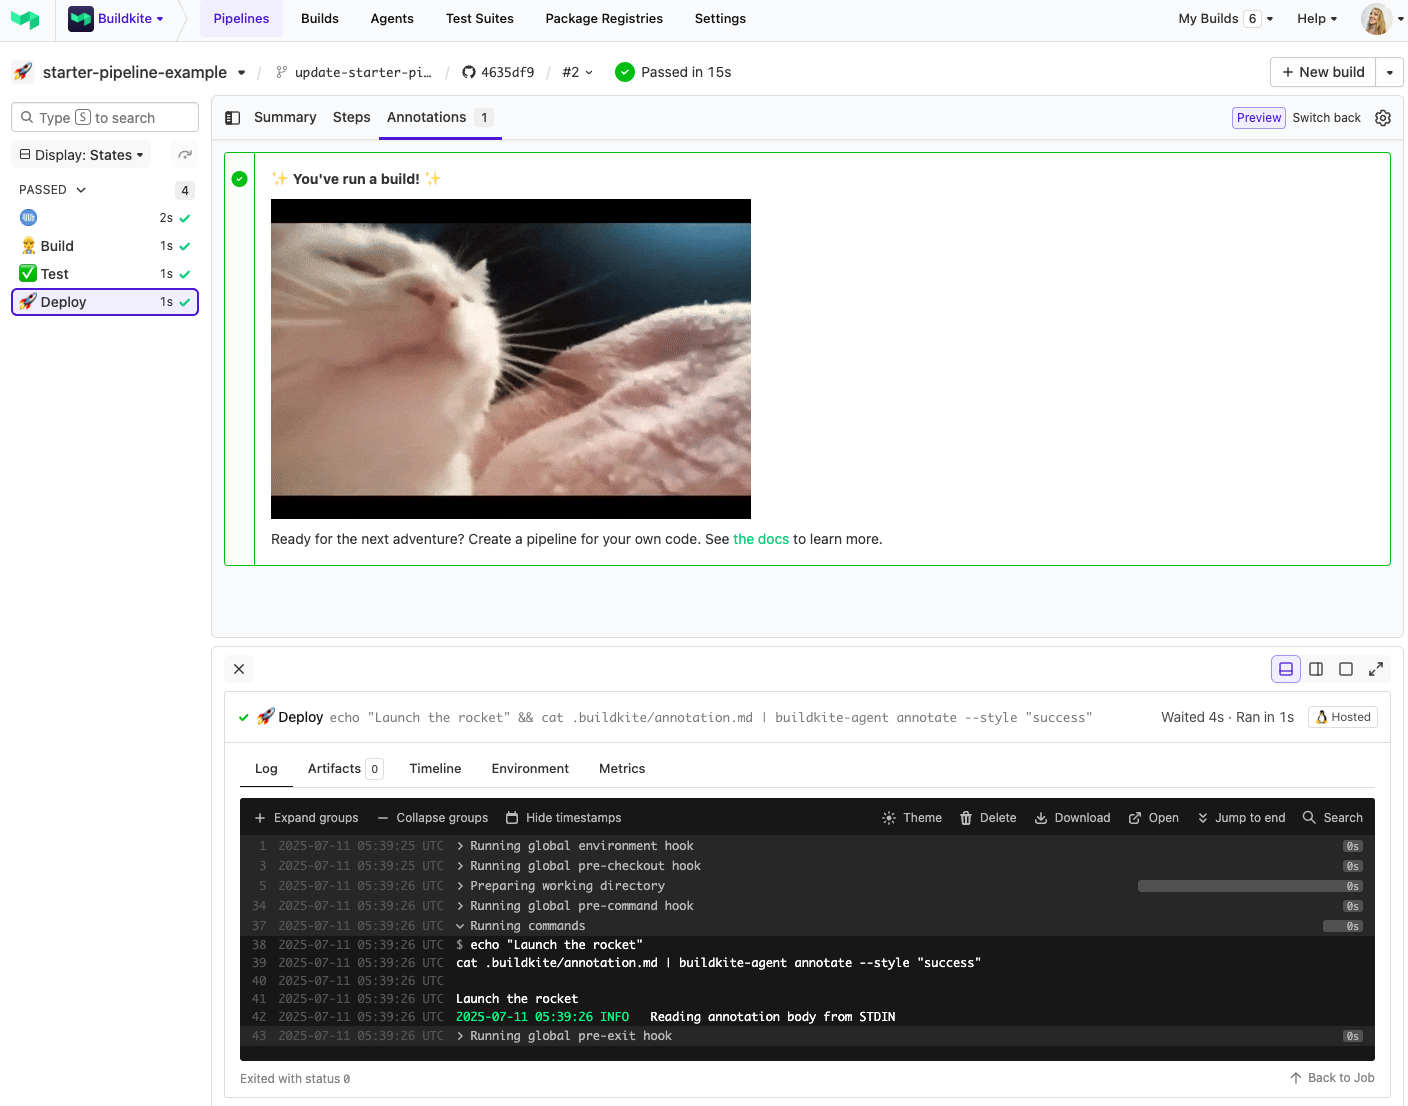
📸 Screenshot 2: The final deploy step adds a success annotation to your build - and yes, you can add GIFs too!
🛠 How it works
The pipeline is platform agnostic, which means it can run on any infrastructure. Its behavior is defined in .buildkite/pipeline.yml, including steps to build, test, and deploy. These steps describe launching a shiny new rocket to the moon. 🚀🌕
This pipeline demonstrates a typical Buildkite flow:
- Build step - placeholder command to “build the rocket”
- Test step - placeholder test stage, depends on
build - Deploy step - echoes a launch message and uses
buildkite-agent annotateto display an annotation
You can replace each of these steps with real commands suited to your own project.
Create a pipeline
If you need help setting up Buildkite, see Getting started.
With Buildkite setup, you can quickly create a new pipeline by selecting Add to Buildkite. This prefills the pipeline details using template.yml and includes a command to upload the pipeline definition in pipeline.yml.
Requirements
None! This example runs on Buildkite-hosted agents, so there’s nothing to install or configure.
Just click Add to Buildkite above and you’re ready to go.
💡 If you’d like to run this on your own infrastructure instead, see Buildkite Agent setup.
License
See LICENSE (MIT)