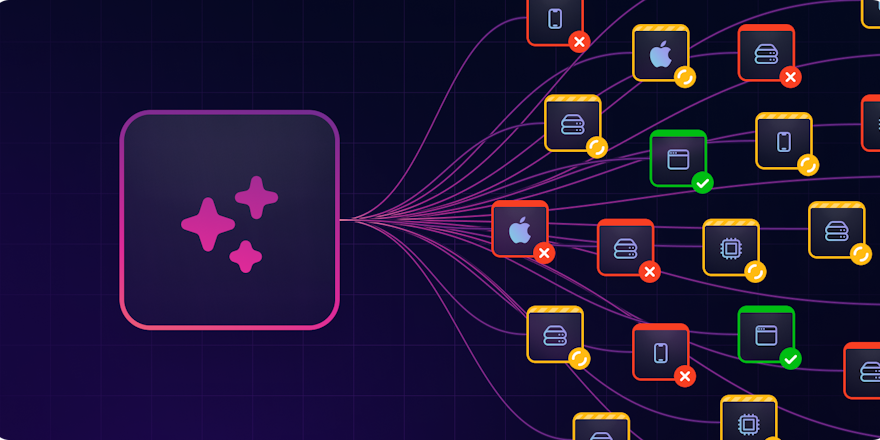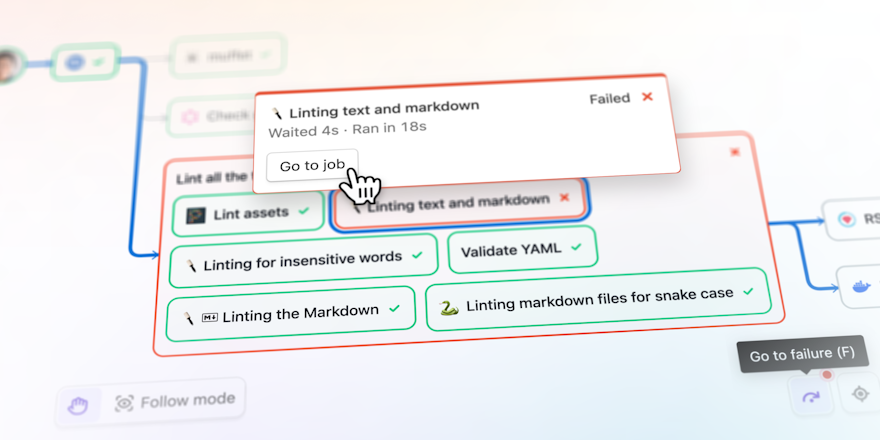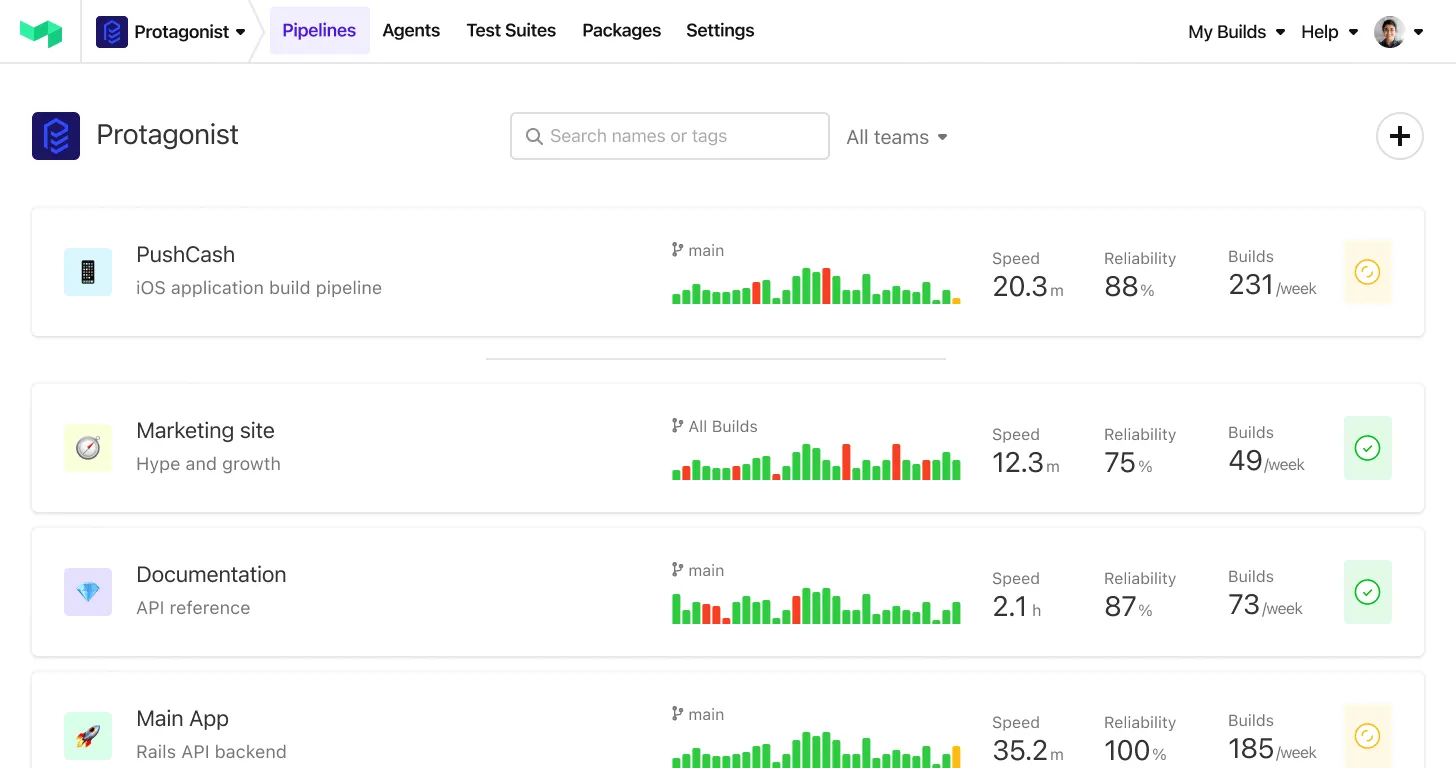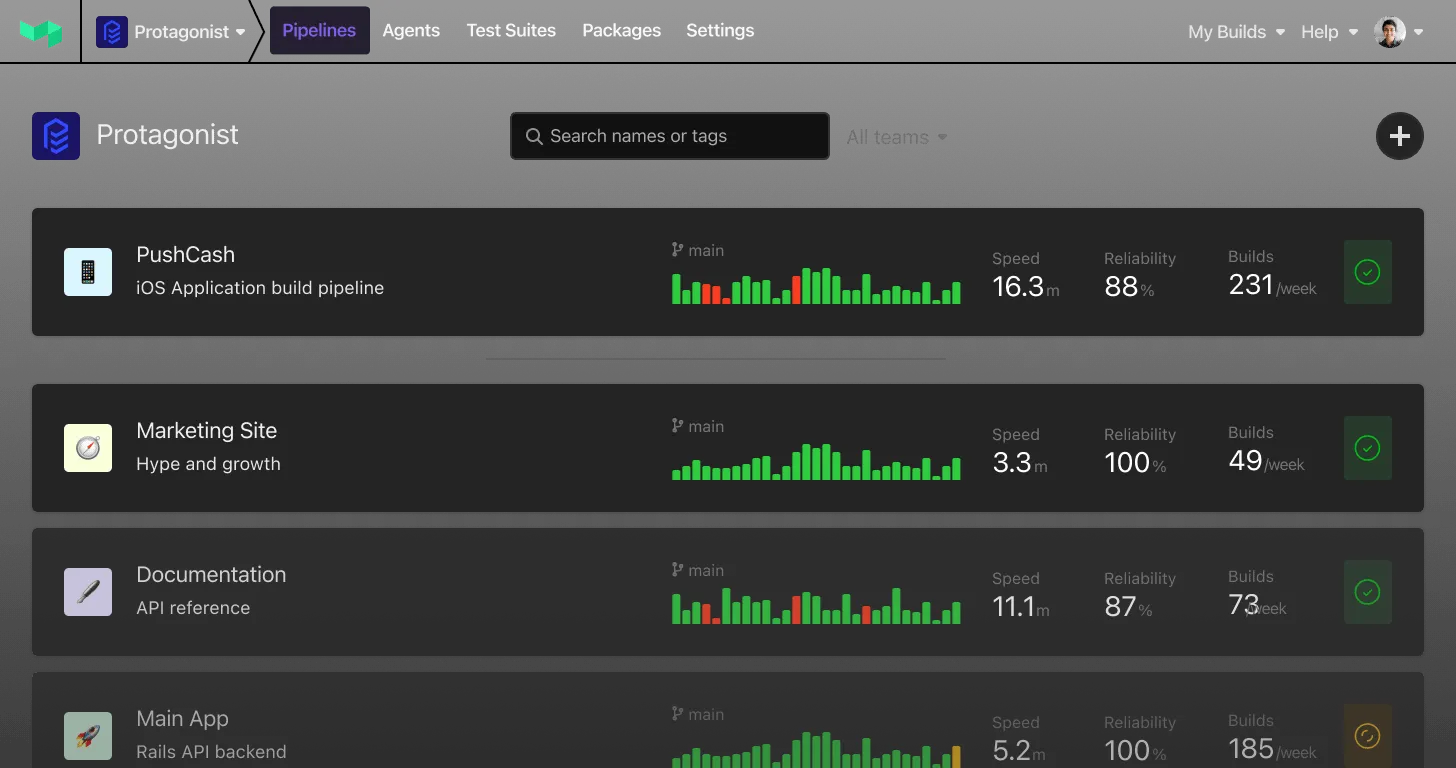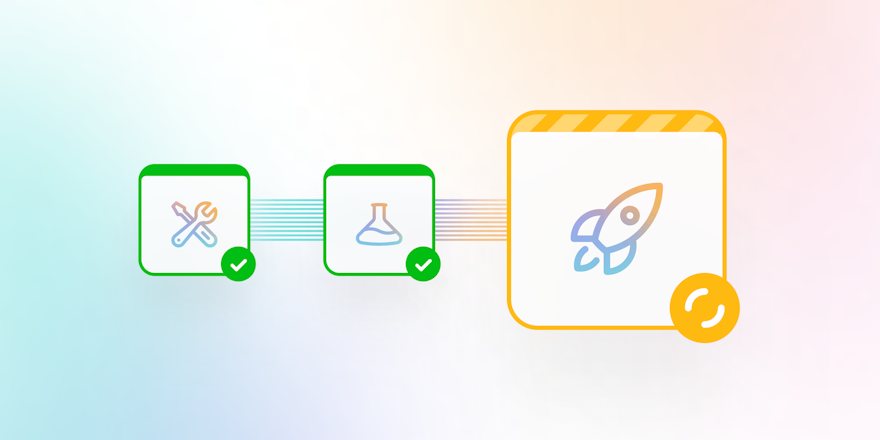
CI/CD pipelines have different levels of maturity.
- In the initial stage, an organization first starts to implement CI/CD practices. The focus here is on establishing the pipeline, and often, manual interventions are still required. Even though it's early days, the benefits of CI/CD are apparent. However, there's still a lot of work to be done in terms of stability, performance, and optimization.
As an organization matures its practices, we usually see it go through some additional stages.
- Managed stage: At this stage, most of the processes are automated and well-managed, but there might be areas for improvement in terms of efficiency, scalability, and robustness. Organizations at the Managed stage might have their pipelines built out, operational, and providing value, but haven't yet identified or scoped work to improve the performance and stability of their builds or had an opportunity to fully leverage the features of their CI/CD platform to reduce costs.
- Defined stage: Here, the CI/CD pipeline has clear metrics and KPIs associated with it. It has stable performance and predictable outputs and, at this point, improvements to the CI/CD pipelines become more proactive than reactive. Those responsible for CI/CD tooling will be looking to build on top of this established base, make incremental improvements, and ensure that pipelines are able to meet (and exceed) the organization's objectives.
- Quantitatively managed stage: The pipeline, at this stage, is not just defined but also tracked and controlled using metrics. Data-driven insights lead to continuous improvements, and pipeline observability is key here. Teams at this stage monitor the performance of their builds, and use this data to examine bottlenecks, identify issues, and plan SLAs/SLOs.
- Optimizing stage: This is the pinnacle of pipeline maturity. Pipelines are stable and flexible, and the foundational work allows teams to continuously improve and scale the organization's CI/CD usage. At this stage, pipeline owners can take a step back from regular pipeline maintenance and start thinking about the bigger picture, to help take their builds to the next level—for example, 'could we improve build times by modifying how jobs are scheduled?', or 'could we increase visibility by writing custom tooling to instrument build jobs?'
As your pipeline moves from the initial stages toward maturity, the need for advanced CI/CD practices becomes more and more apparent. The higher you move on the ladder, the more value you derive from implementing advanced practices. If you identify any of the following scenarios, it may be time for your organization to adopt advanced CI/CD practices:
- If your pipeline is not able to scale up with the increasing complexity and volume of code. For example, if you're building from a large monorepo, you might find that build times are high due to the volume of data being moved around, or the number of tests being executed. At scale, these kinds of bottlenecks can cause significant friction in terms of build duration, build wait times and, as a result, lost developer productivity.
- If your builds suffer more frequent failures, rollbacks, or security vulnerabilities. A lack of standardization around implementation, security practices, and governance could be an issue here. This isn’t unusual for an immature CI/CD deployment, and these kinds of problems can be further exacerbated as an organization grows.
- If your team spends more time troubleshooting issues than on delivering new features. Perhaps you lack visibility into why things are failing, or a way of categorizing failures across many builds. Monitoring is of paramount importance here— - enabling the team to spend less time searching for a root cause and, instead, reducing the time to resolution.
CI/CD best practices you can implement in your own pipelines
We've picked out some of the best practices we see successful companies using to improve their CI/CD maturity.
Create a dashboard of all CI/CD projects
Visibility and transparency are key to efficient CI/CD practices. Developing a comprehensive dashboard that gives an overview of all your CI/CD projects can be instrumental.
The dashboard should reflect essential metrics like build status, deployment frequency, failure rate, mean time to recover, and lead time for changes.
Take the following dashboard views, showing metrics extrapolated from Buildkite’s APM and CI Visibility integrations in Datadog:
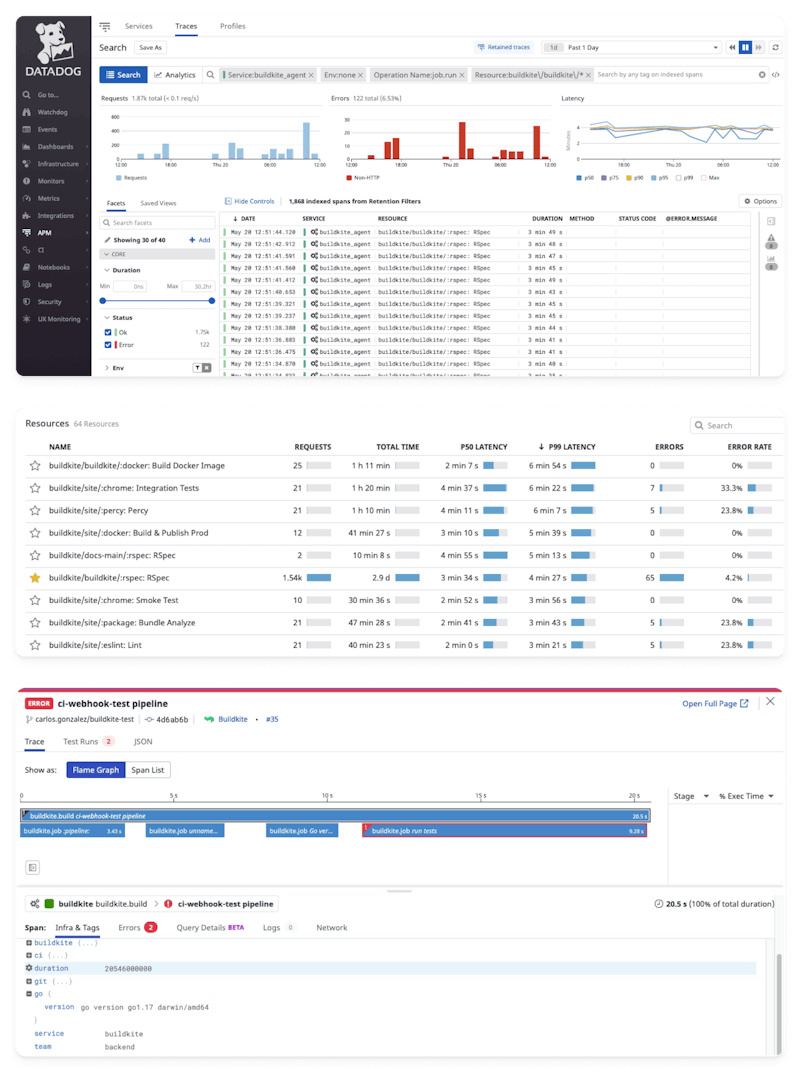
CI/CD dashboarding
A combination of service-level timeseries metrics, and APM traces of build jobs, provides deep visibility into the health and performance of your pipeline executions. Not only are you able to monitor and alert on metrics derived from the pipelines as a whole, such as duration, error rate, and number of executions, but you are also able to drill down into individual invocations of a build job to understand why it performed how it did.
As an advanced CI/CD user, you should be using metrics like these to identify issues before they have a chance to manifest—a critical step towards working proactively rather than reactively. Teams frequently have SLAs set around job execution time, job wait time, test flakiness, job failure rate, and deployment success rate, so these are all metrics that should not only be dashboarded, but also alerted on.
Define DRY (Don't Repeat Yourself) templates for shipping to multiple environments
The DRY principle, commonly known as "Don't Repeat Yourself", encourages software engineers to reduce repetition within their code. Similarly, in CI/CD, you should aim to create reusable templates for common tasks like building, testing, deploying, and monitoring. These templates can be leveraged to deploy to multiple environments, such as development, testing, staging, and production. This results in a consistent, manageable, and less error-prone process.
Organizations using CI/CD at an advanced level often rely on a modular, hierarchical approach to templating. Once a CI/CD deployment reaches a certain scale (number of pipelines, number of users, etc.), it becomes beneficial to standardize pipelines and have them governed with a single consistent workflow that meets a business's requirements and is widely understood by those in the team. This high-level pipeline template might consist of just a few stages, but defines all the things that every single build should include, such as pre-flight checks (security scans, linting), build steps, tests and, where appropriate, deployment.
Each one of these stages could, in turn, consist of a centrally-governed template. Where necessary, stage templates could also be designed to allow individual project owners to define their own custom steps within that stage. For example, a 'build' stage template might consist of a number of standardized steps that might need to occur for every single build, but also allow for a team to add in their own build steps that are specific to that particular pipeline. This approach is hugely beneficial when used at scale, as it allows organizations to implement the governance they require, whilst also giving individual teams the flexibility to implement their own pipeline logic.
Buildkite allows users to define chunks of pipeline code in YAML format, and re-use them across multiple separate pipelines by invoking a 'pipeline upload'. Users may also choose to wrap this functionality up into a plugin, such as this one, to simplify its deployment. For those organizations that need to mandate the use of particular workflows, there is a pipeline template feature that enforces template use across the entire fleet of pipelines.
Make targeted changes to speed up builds
The longer your build takes, the slower your feedback loop becomes, leading to reduced productivity. You can significantly speed up your builds by making targeted changes, such as:
- Implementing parallel testing to divide tests into smaller, independent tasks that can run concurrently.
- Utilizing caching to speed up build times.
- Splitting large builds into smaller, more manageable ones.
- Only building what's changed, instead of the entire codebase.
- Creating multiple job queues with different specification hardware, so that build jobs can be assigned to build agents with appropriate resources.
By examining these areas, and optimizing, organizations can expect to see significant reductions in build latency, test suite execution time, build wait time (i.e., how long a job waits in a queue before being picked up for execution), and the amount of time spent waiting for feedback.
For a new CI/CD user, or one moving from a legacy platform, the most significant time savings often come from parallelizing large test suites across as many individual build workers as possible. As an example, Buildkite's own RSpec test suite has an overall execution time of ~3 hours if run in series but, as part of our CI process, tests are parallelized across 60 individual agents, which brings us down to about 4-5 mins spent executing the test suite in 'real time'.
Those building from monorepos will benefit from advanced CI/CD capabilities that allow them to selectively build and test based on changes, rather than building the entire project each time. This can save huge amounts of time, both from a developer perspective and from a CI compute perspective. Buildkite's dynamic pipeline capability is hugely powerful in this regard, and there are popular plugins that simplify these kinds of changes (such as this one).
As an organization moves into the Optimization stage, implementing caching strategies, customizing build infrastructure to match job requirements, and splitting pipelines into more manageable pieces are strategies that can be used to squeeze further performance gains from builds, and aid with scaling.
Resolve flakiness in your pipeline
Flaky tests and builds are a common challenge in CI/CD pipelines. They pass or fail unpredictably without any changes in code. To resolve flakiness:
- Regularly review and update tests to ensure their reliability.
- Implement a quarantine process for flaky tests until they are fixed.
- Use automated retry mechanisms for network-related failures.
- Isolate tests to prevent interference with each other.
Consider using dedicated tooling to help in the monitoring and isolation of flaky tests. Buildkite's Test Analytics module can instrument your test runner and collect test data in real-time; it can, amongst other things, detect tests that exhibit flaky qualities during a build, and will surface this data quickly and easily for the user. For more information on debugging flaky tests, check out this blog post.
Watch your Git repo sizes
Large Git repositories can significantly slow down the CI/CD process, increasing clone times, build times, and generally making everything sluggish. Therefore, it's crucial to monitor your repo sizes and manage them appropriately. Implement practices like removing large files that are no longer needed, using Git LFS (Large File Storage) for storing large files, and cleaning up old branches regularly.
If your CI solution allows you to manage the build agent infrastructure yourself, consider a strategy of seeding build machines with a cached copy of the repository prior to the build running. Not only can this significantly reduce checkout time, but it also has the added benefit of reducing the pressure put on your SCM server; this is particularly relevant if you self-host your SCM internally, as these kinds of services can experience heavy load when both CI and users are cloning large monorepos with deep histories.
Buildkite provides you with control over how you configure and deploy your build infrastructure and, depending on your strategy, allows for a number of ways to optimize checkout performance. Customers with large, slow monorepos can choose to store a cached copy of the repository on build machines after the first clone, to improve the performance of future checkouts, or even seed instances with a cached copy of the repo from an archive at launch, which can reduce long 15+ minute checkout times down to just a few seconds.
Move from static configuration to dynamic pipelines
A 'statically configured' pipeline is one that has been written beforehand. The steps that are to be executed are defined somewhere and associated with a pipeline. When a build is triggered, those steps are used to perform the build. An example of this would be Github Action's default behavior, where users define workflows in YAML files, inside the source repository.
A 'dynamically configured' pipeline is one that isn't defined prior to the build being executed. Instead, some mechanism will be used to dynamically generate the steps to be used for the build at run time, based on whatever logic the user requires. This means that a build is no longer constrained to use a set of steps pre-defined in a static file and can, instead, generate a set of steps that are relevant to what is being built. For example, if a monorepo is being built, a dynamic pipeline could examine the changes made in the current commit, and determine what steps are required to build and test effectively, relative to those changes, without having to build and test EVERYTHING. This can greatly improve the efficiency and performance of builds. Dynamic pipelines can also allow for pipelines to monitor their own behavior, and self-remediate if necessary.
Static pipelines, although easier to set up, lack flexibility. Dynamic pipelines, on the other hand, will require the user to prepare the necessary logic to generate the pipeline steps, which is a steeper barrier to entry. That said, once the necessary groundwork has been laid, dynamic pipelines increase efficiency and reduce unnecessary runs, making your CI/CD pipeline more agile and robust.
Not all CI providers support dynamic pipelines, and those that do will offer different capabilities. Buildkite's dynamic pipeline capabilities can be used to provide benefits around customization, optimization, security, and governance, allowing you to implement your pipeline logic in whatever language you're comfortable with, and generate clean, readable pipeline definitions. For those customers with hundreds or thousands of unique pipelines, a single framework for generating dynamic pipelines can be applied to many pipelines at once, simplifying deployment, scaling, and giving a single source for governance. For more information about Buildkite's dynamic pipelines, check out this blog post.
Conclusion
Implementing a CI/CD pipeline is only the first step. Growing and optimizing it is a journey that requires dedication and the willingness to learn from failures. Mature CI/CD pipelines don't just speed up delivery; they make it more predictable, reliable, and efficient. By adopting these advanced CI/CD best practices, you can ensure that your software delivery pipeline is not just a pipeline but a robust engine for continuous improvement.
For more information about how to implement advanced CI/CD practices in Buildkite, check out these resources:
- Fixing Flaky Tests
- How to Build CI/CD Pipelines Dynamically
- What we Learned by Migrating From CircleCI to Buildkite (spoiler: they saved a lot of money and got rid of a ton of YAML)
