
Two-factor authentication
Two-factor authentication (2FA) can be added to your Buildkite account to provide an additional layer of security and to make sure your builds are safe even if your login credentials are compromised (exposed or stolen).
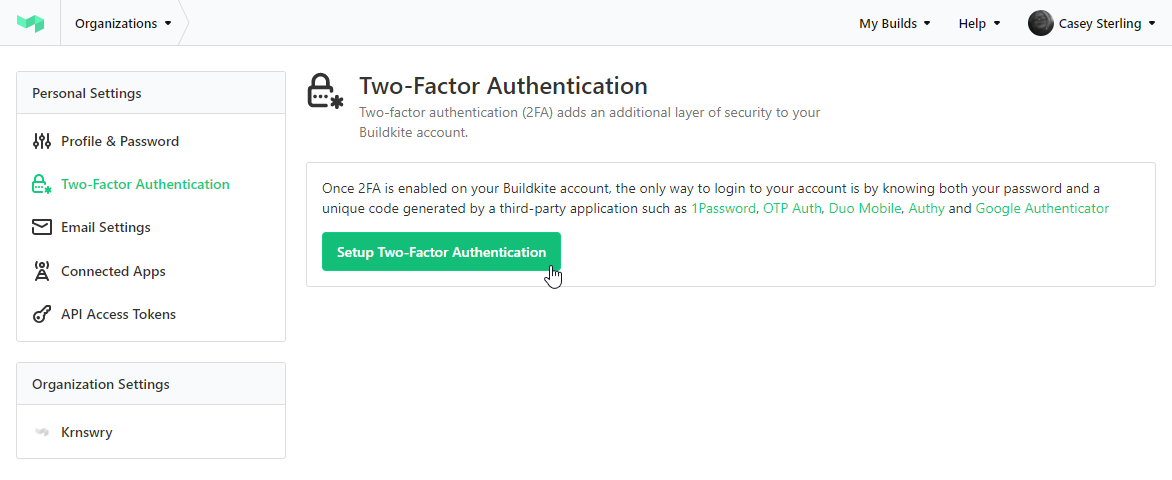
Once 2FA is enabled on your Buildkite account, the only way to log in to your account is by knowing both your password and a unique code generated by a third-party application such as 1Password, OTP Auth, Duo Mobile, Authy, or Google Authenticator.
Setting up two-factor authentication
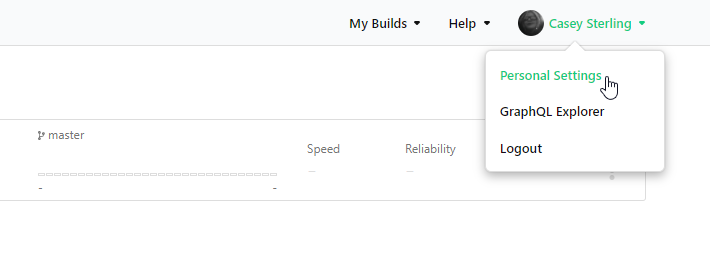
You can set up two-factor authentication in the Buildkite dashboard. To do it, select Personal Settings in the drop-down menu under your profile picture.
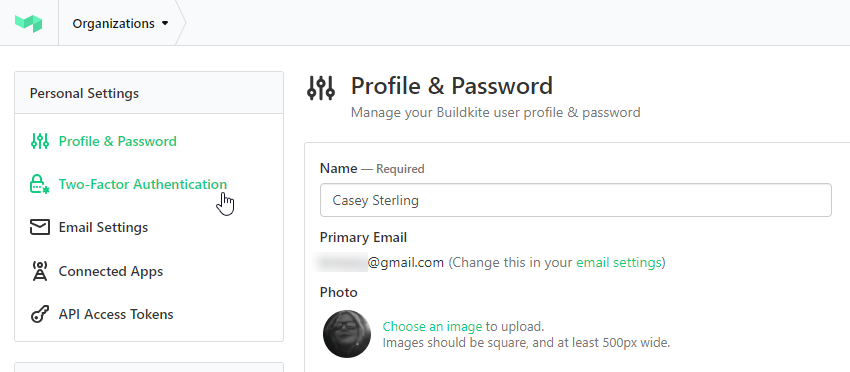
Next, navigate to the Two-Factor Authentication item and click it (you may be asked to enter your password in the Confirm Password field).
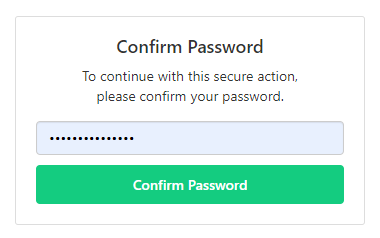
Enter your Buildkite account password and proceed.
Click the Setup Two-Factor Authentication button to start securing your Buildkite account.
Step 1: Store recovery codes
You will need them to restore access to your account if you lose access to your authenticator application. Use the buttons to either copy the codes to clipboard or download them as a text file. Keep your recovery codes in a safe digital space or print them out and hide them well. Never share your recovery codes.
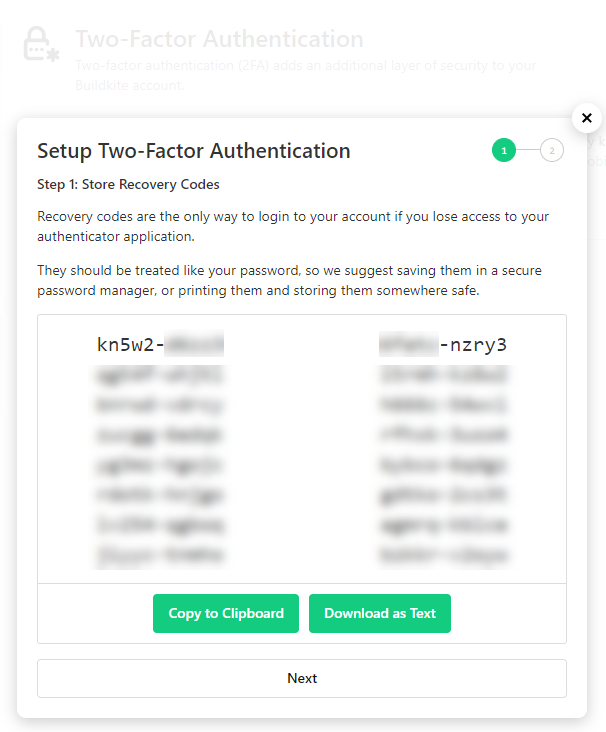
Saved your recovery codes and proceed.
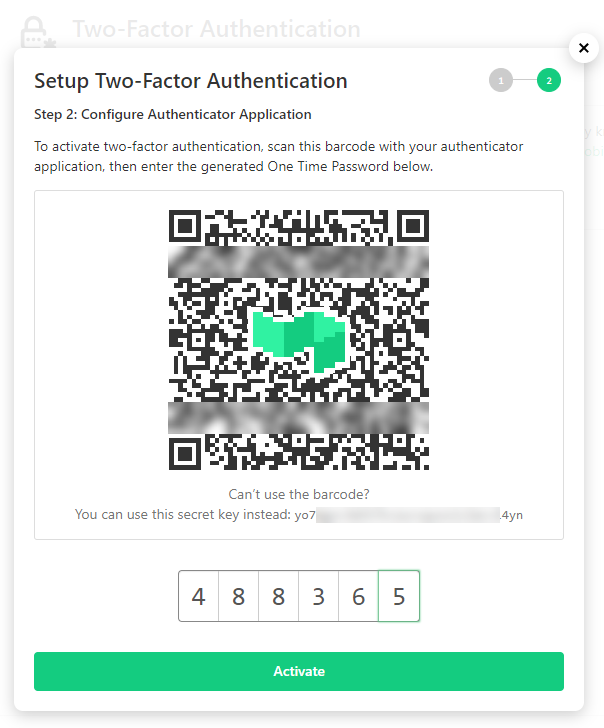
Step 2: Configure authenticator application
To activate two-factor authentication, scan the barcode that appears in the Buildkite dashboard with the authenticator application of your choice. If you cannot scan the barcode, you can use the secret key below the barcode.
After you've scanned the barcode or activated the authenticator application using the secret key, Buildkite will appear on the list of accounts registered in that application. Your authenticator will provide a new randomly generated six-digit code (your One Time Pass) roughly every 30 seconds. Enter this code into the corresponding field in the Buildkite app and click Activate.
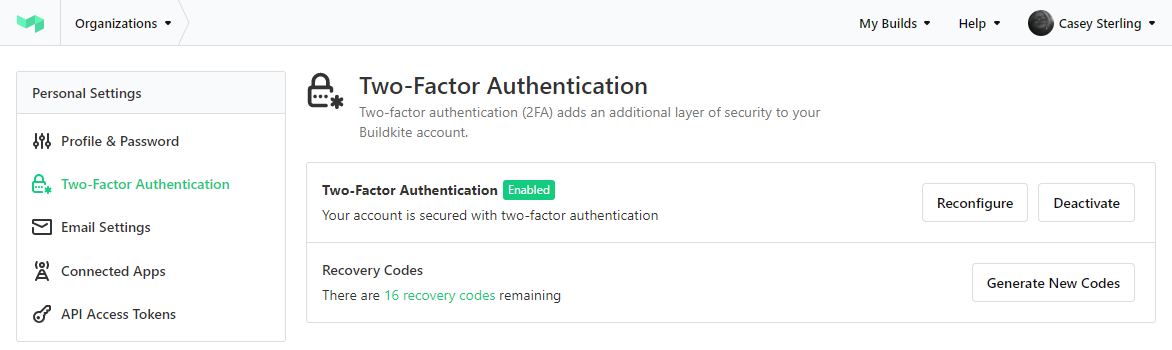
Congratulations! You have now successfully enabled the two-factor authentication for your Buildkite account. This will be confirmed by an Enabled badge next to the Two-Factor Authentication option in your Personal Settings.
Next time you try to log into your Buildkite account from a new browser, device, or location, you will be asked to enter the current one-time password provided by your authentication app.
You can always reconfigure or deactivate the 2FA if you need to. This can be done in the Two-Factor Authentication area in Personal Settings for your Buildkite account in the dashboard.
Recovering access after losing recovery codes
If you are locked out of your Buildkite account with two-factor authorization enabled and have no recovery codes, there is still a way to regain access to your Buildkite builds.
You need to ask the administrator of your Buildkite organization to remove your account. Next, contact support@buildkite.com and ask your account to be deleted. Once it's deleted, you can create a new one.
Enforcing two-factor authentication for the whole organization
Organization administrators who would like to enforce two-factor authentication across their entire organization can do so following the Enforce 2FA guide.