
Single sign-on with Google Workspace (SAML)
As an alternative to Google Workspace SSO using OpenID, you can use Google Workspace as an SSO provider for your Buildkite organization using SAML.
To complete this tutorial, you need admin privileges for both Google Workspace and Buildkite.
You can also set up SSO providers manually with GraphQL.
See the SSO setup with GraphQL guide for detailed instructions and code samples.
After following these steps, your Google Workspace users can sign in to Buildkite using their Google account.
Step 1. Create a Buildkite SSO provider
Click the Buildkite organization Settings' Single Sign On menu item, then choose the custom SAML provider from the available options:
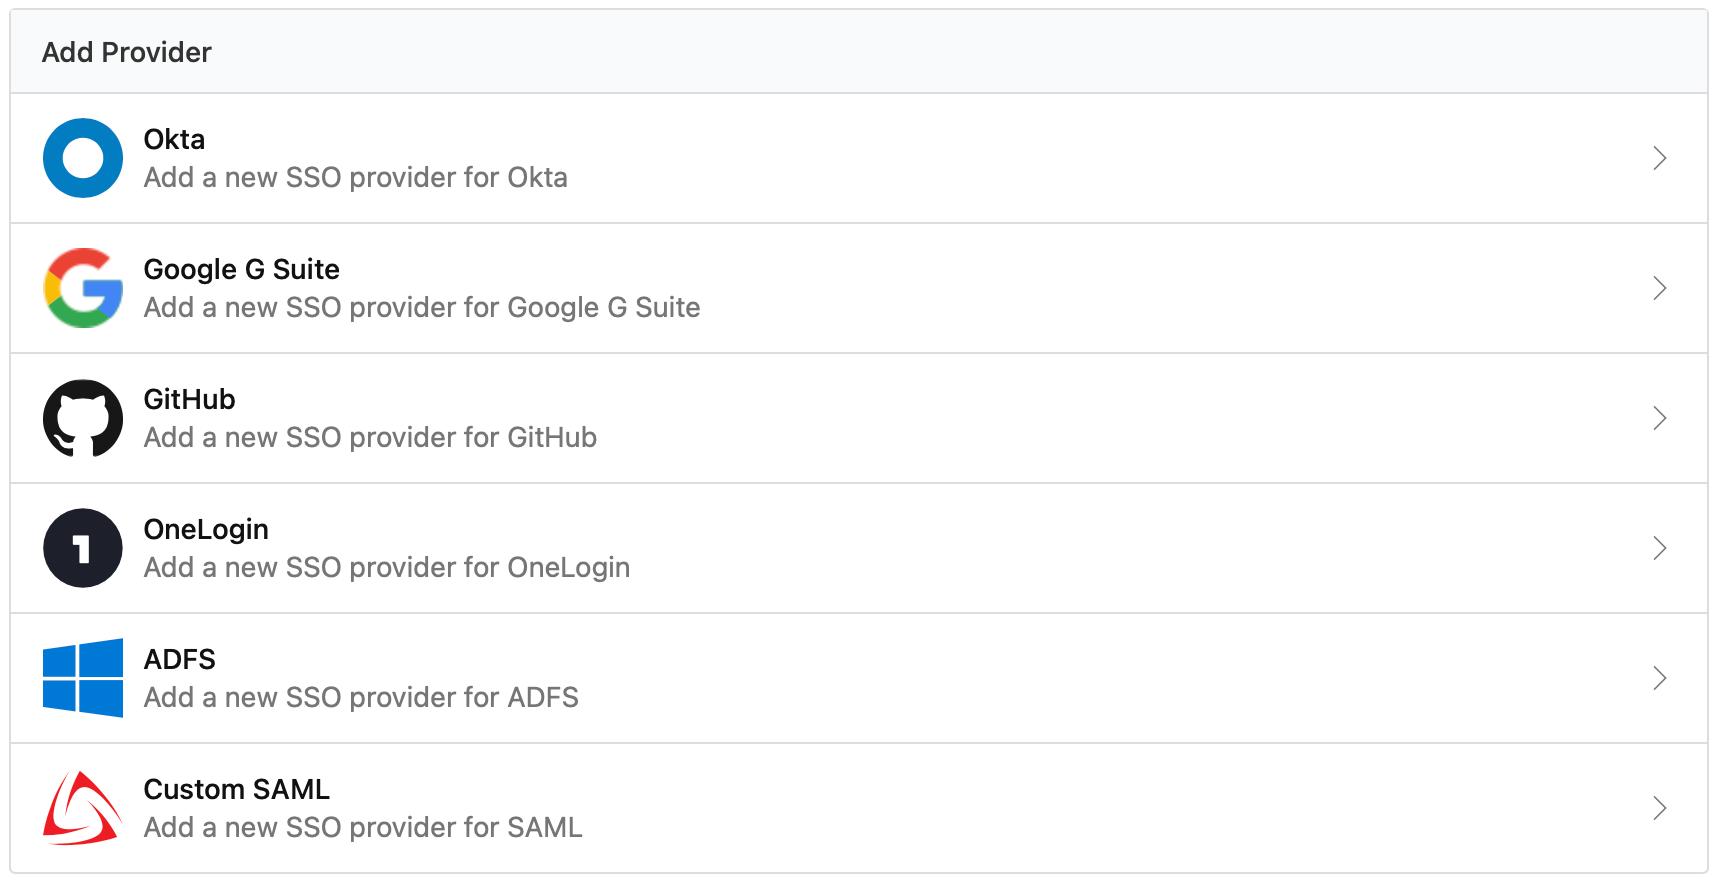
Choose the Provide IdP Metadata Later option when configuring your Custom SAML provider.
On the following page, copy the ACS URL for use in Step 2.
Step 2. Add Buildkite in Google Workspace
Log into your Google Admin Console, and follow these instructions:
- In the Apps area of the console, select the Web and mobile apps submenu.
- Click the Add App menu at the top of the table and choose Search for apps.
- Search for Buildkite, and select Buildkite Web (SAML).
- Copy the SSO URL and Entity ID, and download the Certificate. You'll need these in Step 3.
- Enter the following service provider details:
- ACS URL: the URL you copied in Step 1. Replace any existing value suggested by Google.
- Entity ID: https://buildkite.com
- You can add attribute mapping after the initial setup and testing. Click Finish to complete the setup.
Step 3. Update your Buildkite SSO provider
On your Buildkite organization Settings' Single Sign On page, select your Custom SAML provider from the list of Configured SSO Providers.
Click the Edit Settings button, choose the Manual data option, and enter the IdP data you saved in Step 2:
| SAML 2.0 Endpoint (HTTP) | The SSO URL you copied down during the previous step. |
| Issuer URL | The Entity ID that you copied down during the previous step. |
| X.509 certificate | The public key certificate generated for you by Google Workspace that you downloaded during the previous step. You need the whole file, not just a link to the file. |
Save your settings. Your provider page opens.
Step 3. Perform a test login
Follow the instructions on the provider page to perform a test login. Performing a test login verifies that SSO is working correctly before you activate it for your organization members.
According to Google, "Changes may take up to 24 hours to propagate to all user". Some changes may take at least several hours, so if the test login fails, it is worth waiting and trying again.
Step 4. Enable the new SSO provider
Once you've performed a test login, you can enable your provider using the Enable button. Activating SSO will not force a log out of existing users, but will cause all new or expired sessions to authorize through Google Workspace before organization data can be accessed.
The users will need to sign into Buildkite by clicking the Buildkite icon in the Google Apps menu. You can find this menu by clicking the 9-dot "waffle" icon.

If you need to edit or update your Google Workspace (SAML) provider settings at any time, you will need to disable the provider first. For more information on disabling a provider, see the disabling SSO section of the SSO overview.
SAML user attributes
Buildkite accepts a subset of the SAML attributes from identity providers. The accepted attributes are:
| Attribute | Description |
|---|---|
admin
|
A boolean value that describes whether the user should be provisioned with admin permissions Example: true |
email
|
A string of the user's email address Example: "person@company.com" |
name
|
A string of the user's full name Example: "Han Solo" |
teams
|
A comma separated list of team UUIDs. A team's UUID can be found on the Team Settings page in Buildkite. Example: a1aaaa1a-b2bb-cccc-d4dd-aa2aaa6aaaaa,b5bbbbbb-3aaa-dd1d-aaa1-eee4eee6eeee
|
When using the teams attribute, you can also specify roles. The maintainer or member role can be appended to the team UUID.
For example, the following code will specify the member role for the first team and the maintainer role for the second team:
teams="b5bbbbbb-3aaa-dd1d-aaa1-eee4eee6eeee/member, a1aaaa1a-b2bb-cccc-d4dd-aa2aaa6aaaaa/maintainer"